| I use to have a vehicle that I could carry my models in and be inside.
But as time has gone on, I now only have small pickup trucks and the boats
are too big to put inside the cab. So to be able to take my boats with
me I had to come up with something.
So I built a transportation box out of wood.
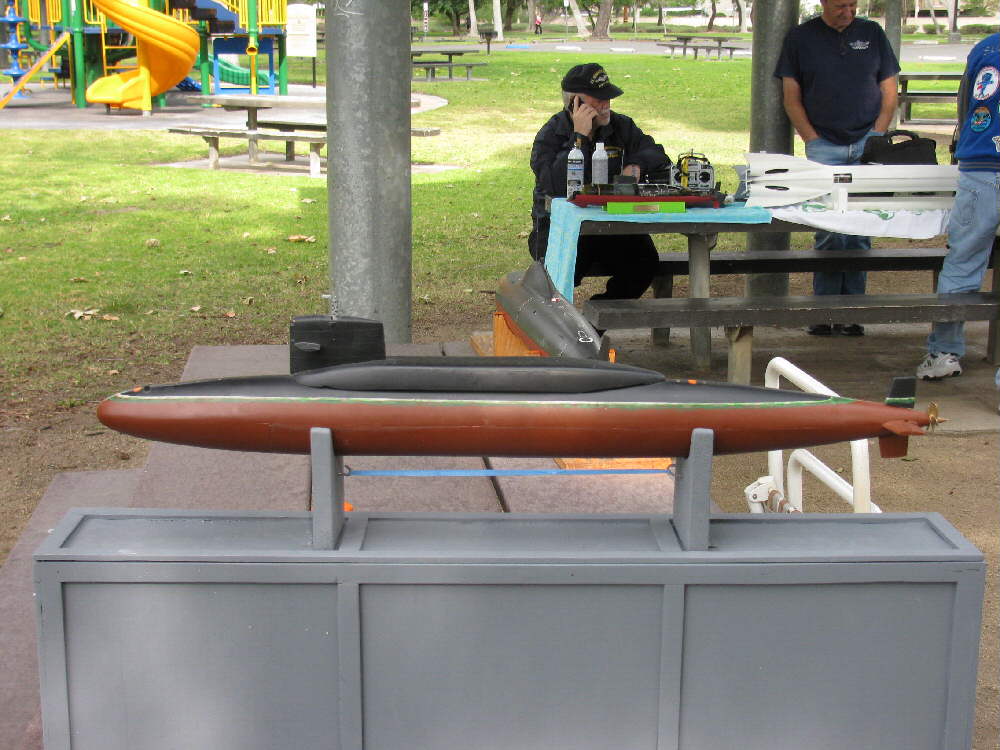
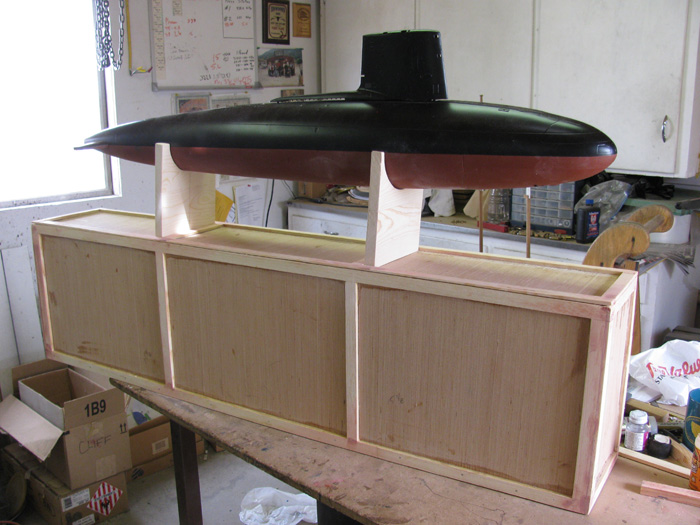
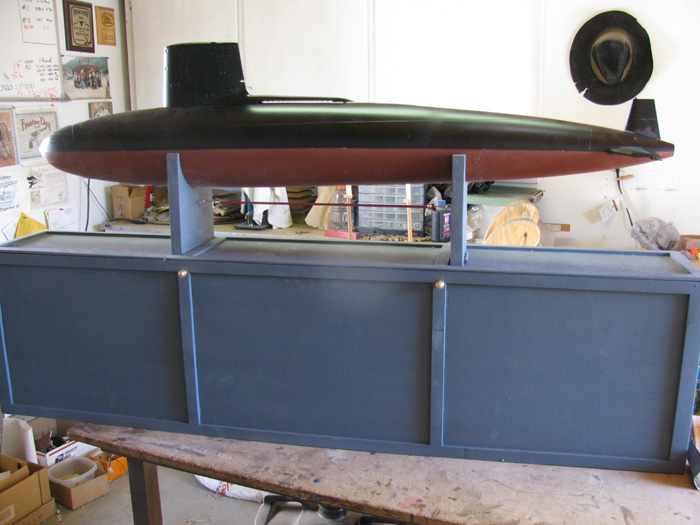
Here is a photo of my George Washington at the Fun Run in April. Not
only does the boat fit snuggle in the box with foam padding, the top of
the box has two supports that are hinged so I can place the boat on top
of the box while on display or working on it. (If you have been following
the Skipjack build, you've seem the hull on this box top.
I have reached a point in the Skipjack build that I need to do other
things while I collect and make arrangements to use a lathe to turn end
cap for the cylinder.
I thought I would show you what I do to make these boxes.
====================================
For the Skipjack, I decided I needed a box that was 12" tall. 6.5"
wide and 46" long overall. This should give me a minimum of 1" clearance
on all sides from the hull.. More in some places. I want to use a minimum
of 1" thick foam for protection.
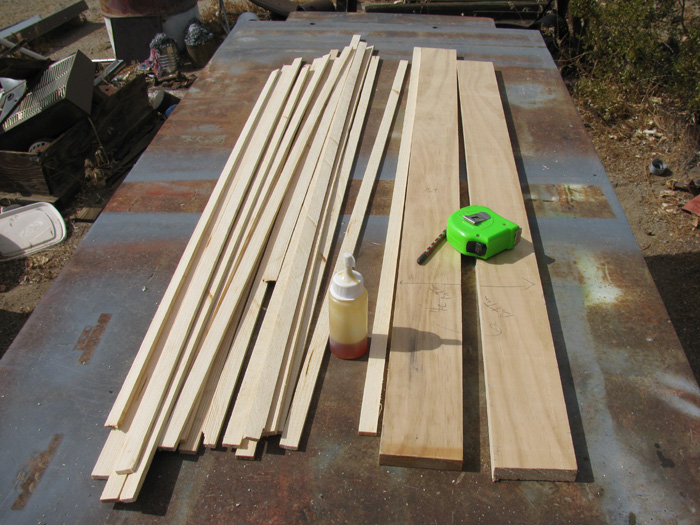
1. I went to the lumber yard and got two 8' lengths of 4"x1"x8' pine.
I looked and picked straight and as clear of knots as I could find
in the pile.
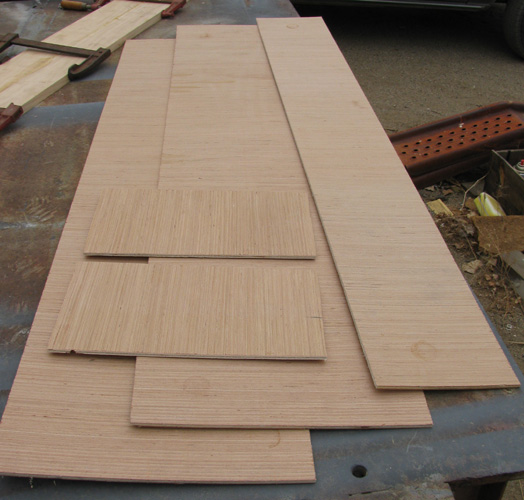
I got (had) a 4'x8' piece of good grain door skin. It's about 3/16"
thick plywood.
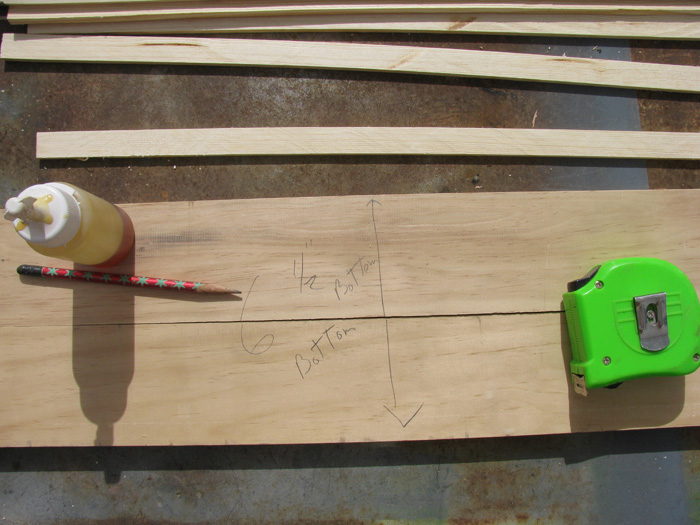
2. Got home and cut the 8' lengths of pine in to 4" lengths for
easier handling.
I need two pieces for the bottom.
The rest I cut in to 1/4" strips.
3. I cut the door skin in to
two 12"x48" pieces. (long sides)
two 12"x6.5" pieces. (short sides)
one 6.5"x47" piece. (top)
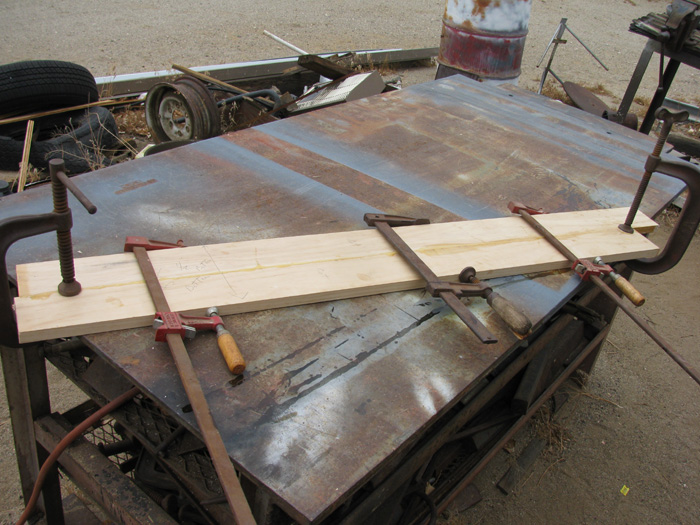
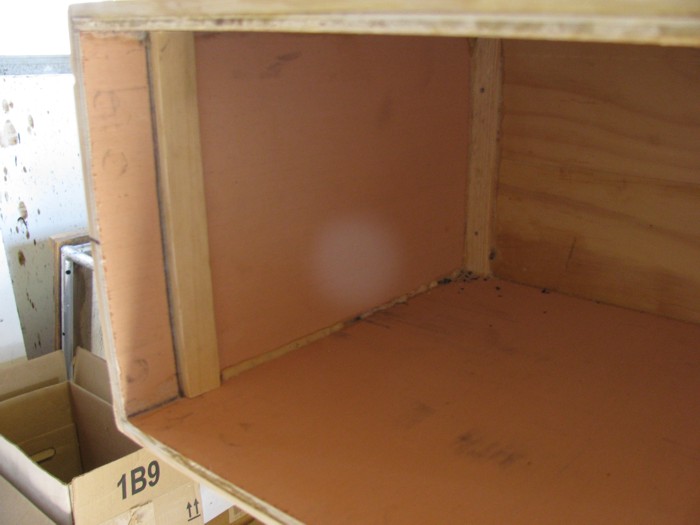
Once the bottom is cured and cut to size, the sides will be fit and
assembled.
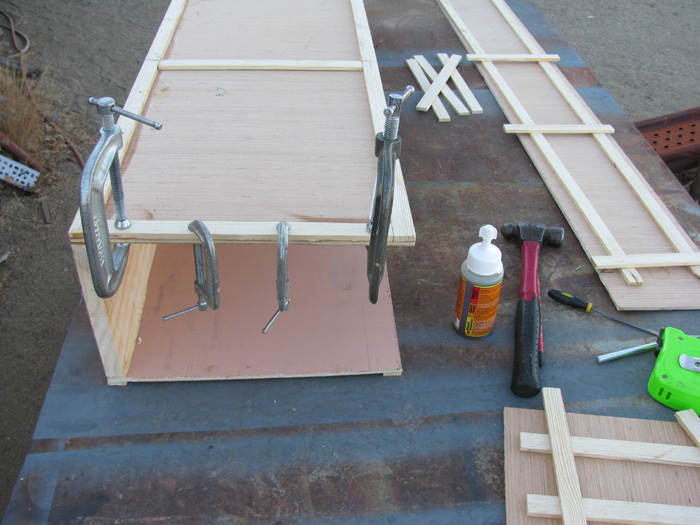
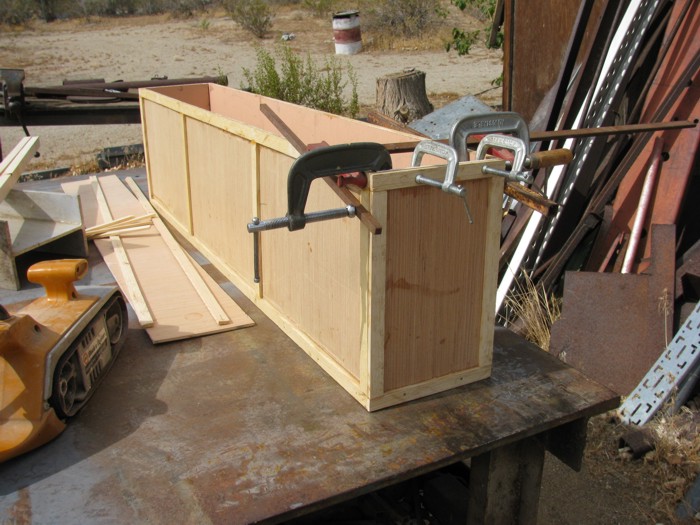
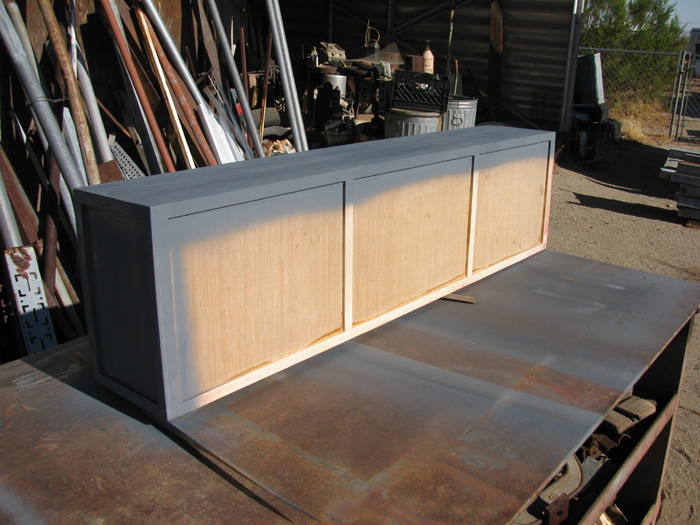
The assembly has started.
This is so Matt can see the cut using a combination carbide 10" table
saw.
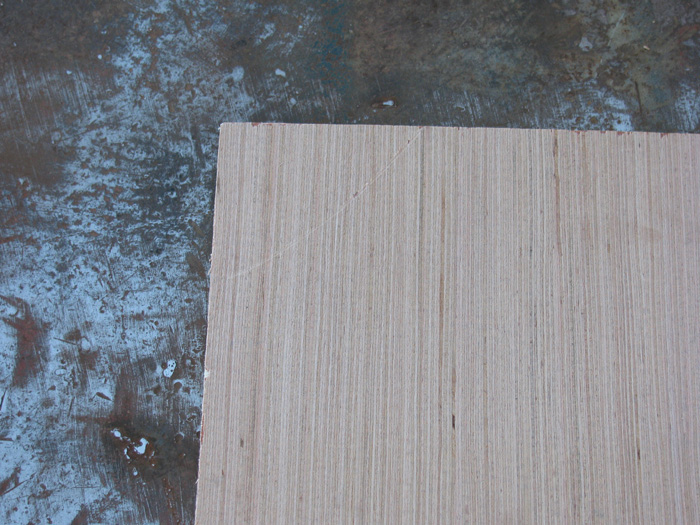
This is door skin. Wood on one side and primered on the other side.
Photo of box end just before unclamping.
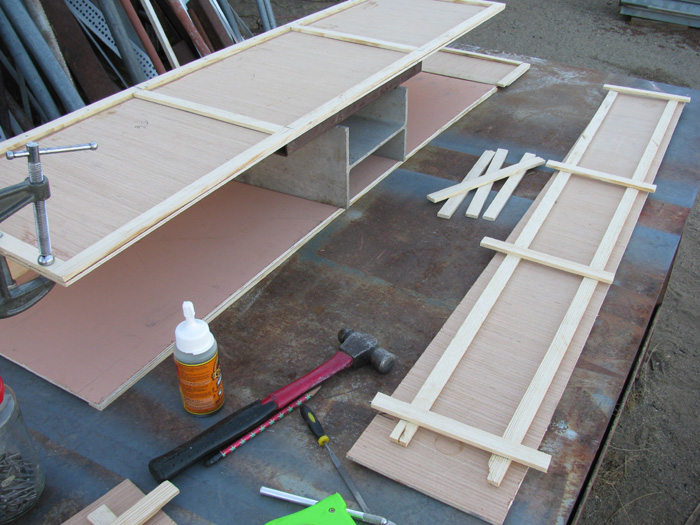
Top started. Inside frame is together with panel in place and glue is
curing.
Trim frame will be started this evening unless the thunder storms come
again.
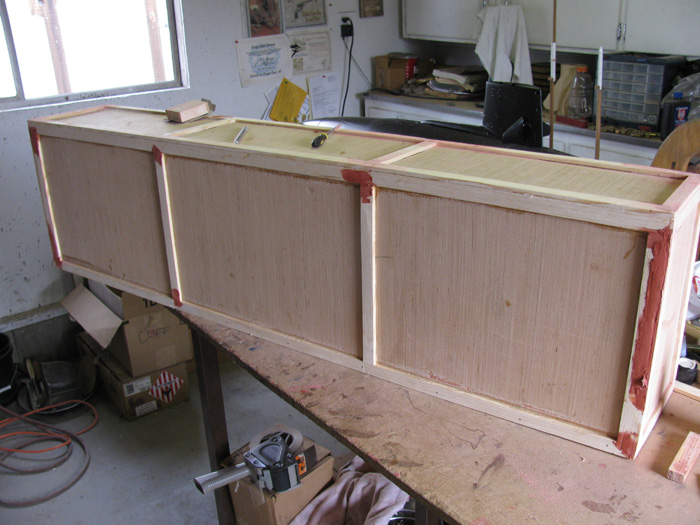
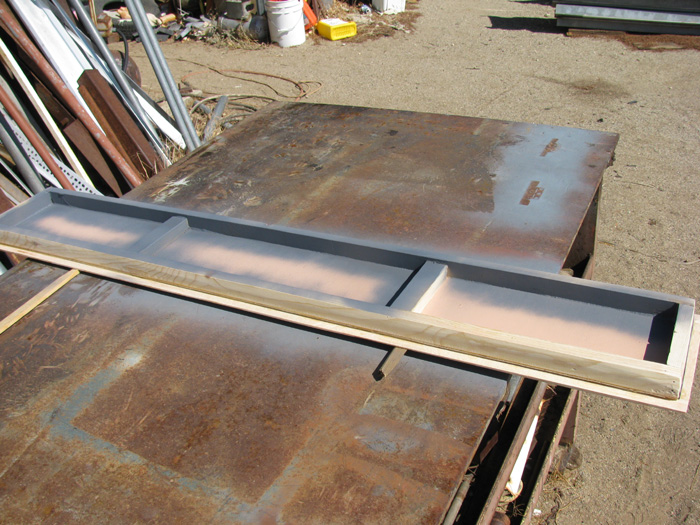
THe top fits inside the box with the trim overlapping the edge. I don't
want stress placed on the trim so I mounted inside support ledges.
A 12" long piece in the middle of the long sides and a full piece at
each end. The top will sit on these ledges but I will also fit the top
so the trim just comes in contact with the box edge.
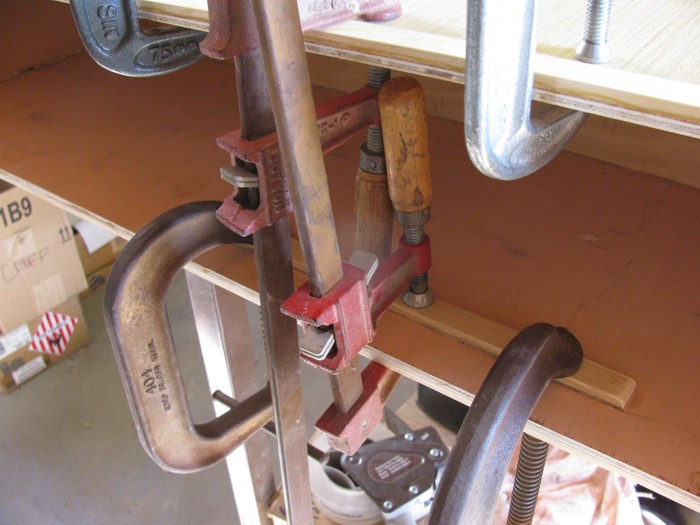
Side edge being glued in place. |
Looking at End edge in place. |
Half the top trim being put in place. The top edge of the box has packing
tape over it to keep glue from bonding with the box. |
Today, sanding on the putty.
Just filling in the places the wood did not meet up flush. I'm not
wood worker.
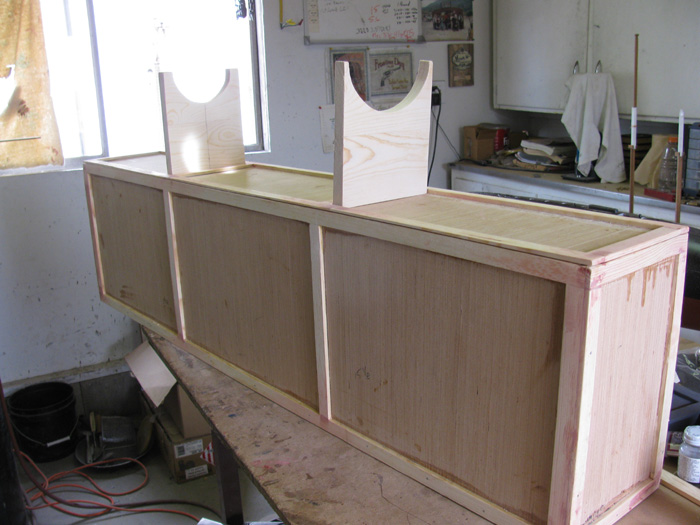
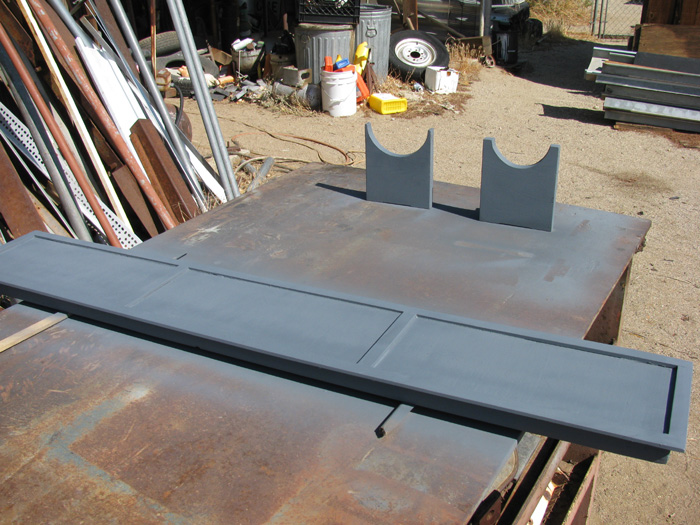
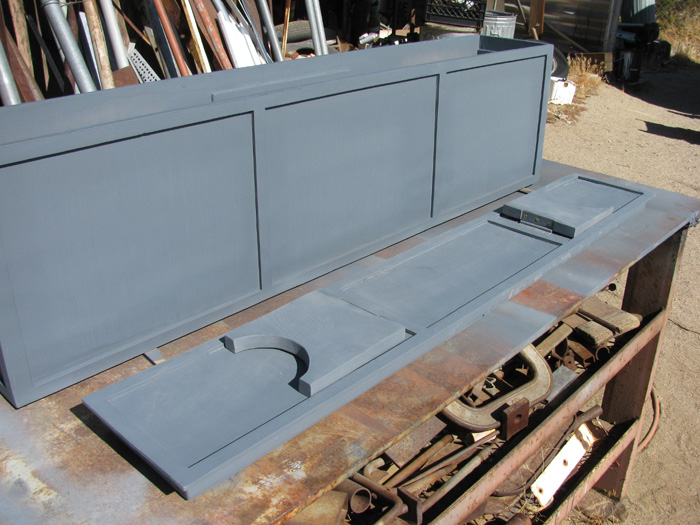
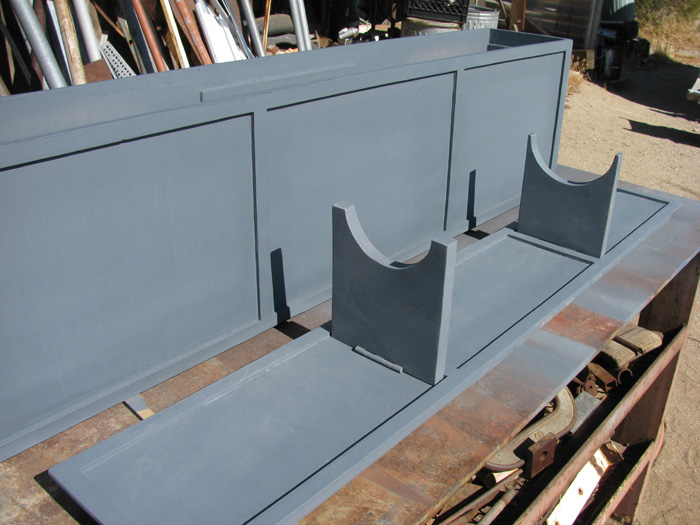
Made the two stands that go on top of the box.
Set them in place to take a look.
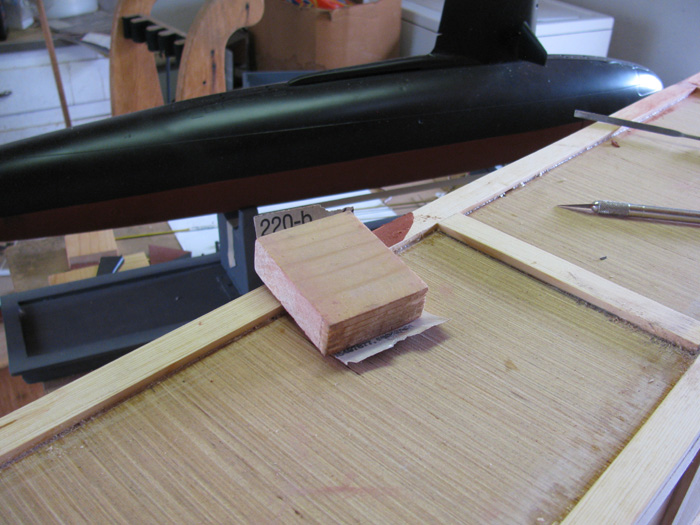
Did some measuring so the boat will sit level on the stand.
Had to cut 1/4" of the bottom of the front stand. It was easier than
taking off 1/4" in the rear stand which would have been a circular cut.
The front was a straight cut. Yep, that's the one I did.
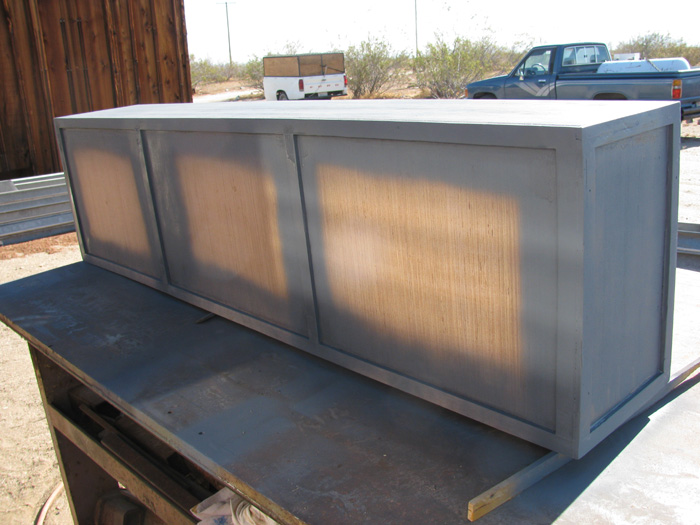
Painting has started.
Lid and Stand.
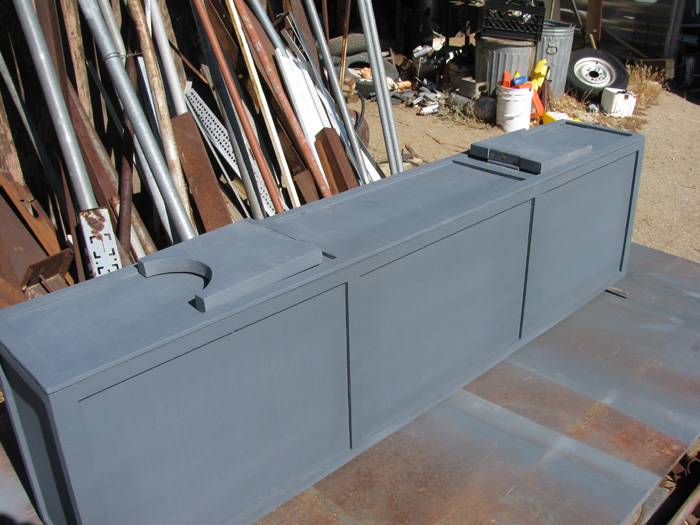
I got outside to do some more painting.
It is such a nice day that I not only got more done, I finished it.
So here are the progression photos.
The transportation box sitting on the metal work with the bottom up.
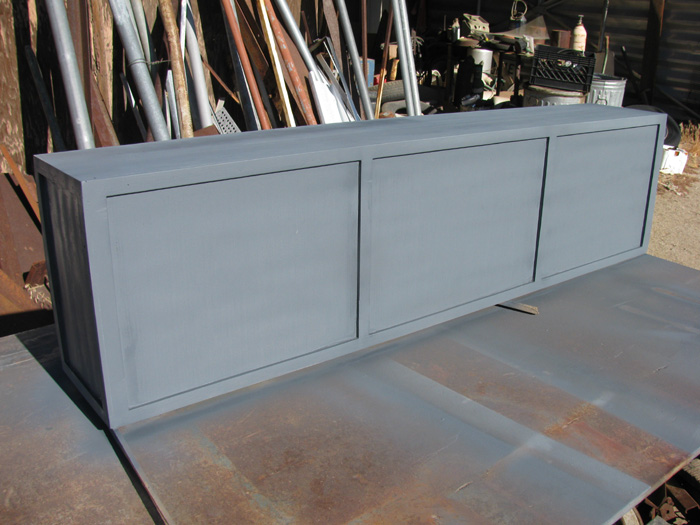
Box and lid are both back in the shop to dry completely.
Got to go through tool shed cabinets to find a couple of hooks or eye
screws for the bungees to hook to.
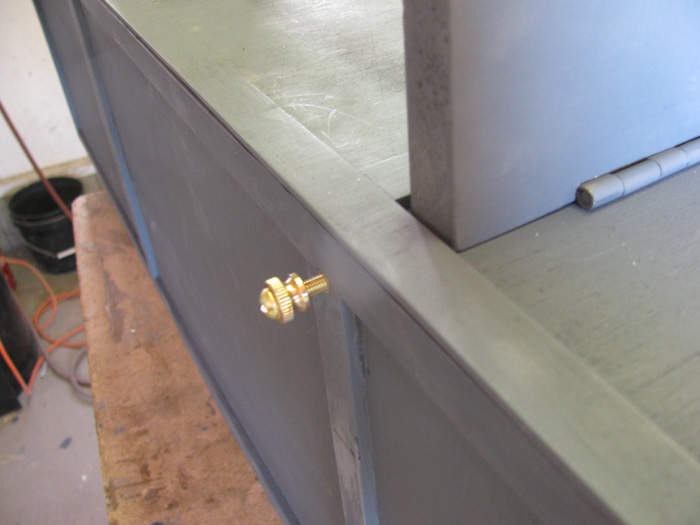
The eye bolts are in.
The blind nuts are in.
The knurl knobs have been made and cut to length.
The lower rudders isn't in place because I have not yet shortened the rudder
shafts to length.
Can't put both in at same time until I cut the shafts to fit the control
yoke.
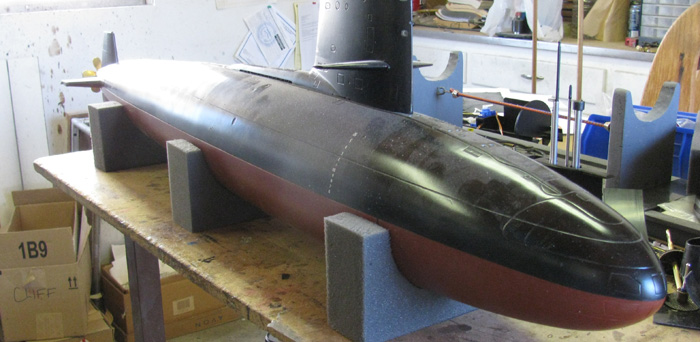
I still have to cut dense foam to put inside the box to protect the
model bow and stern.
I will be giving the paint a couple of days drying time.
I have in the past put the foam in a completed box only to have the
paint fumes destroy the foam.
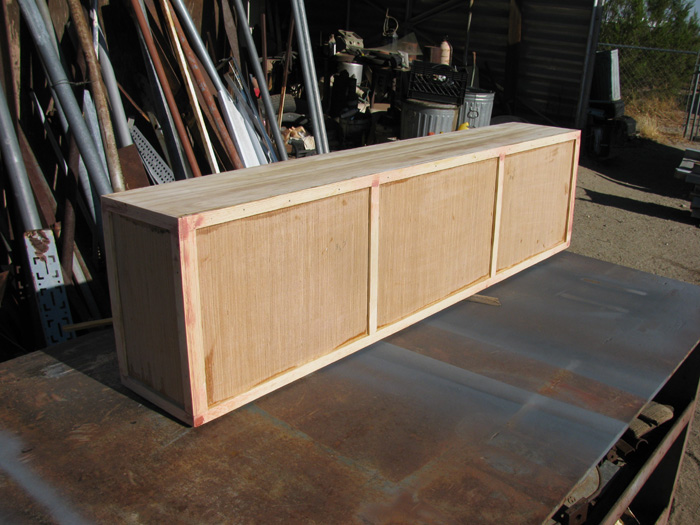
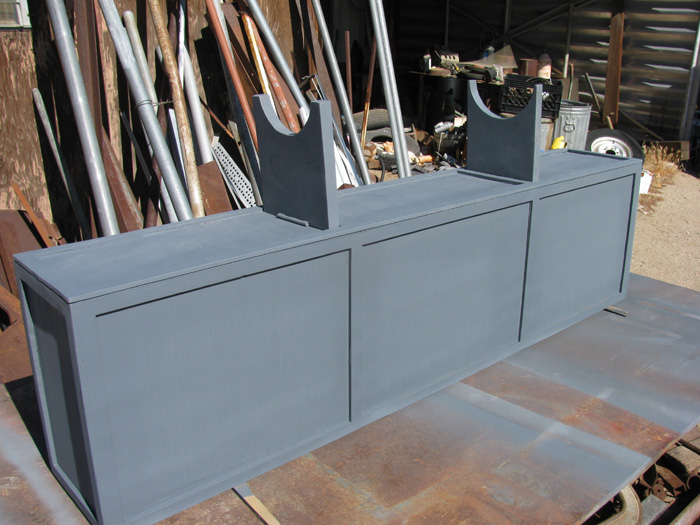
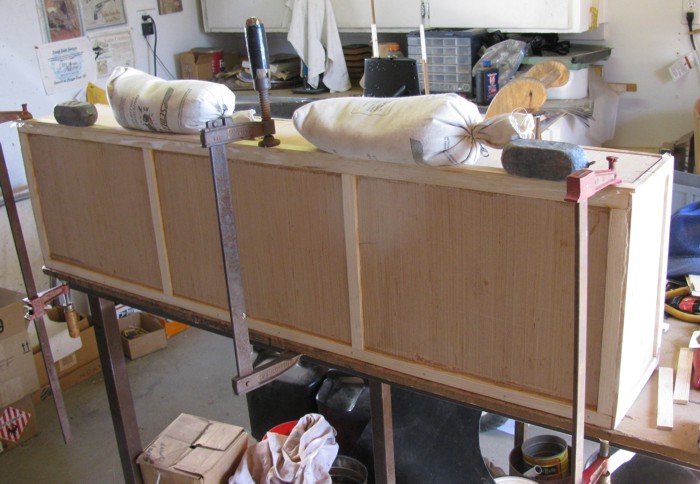
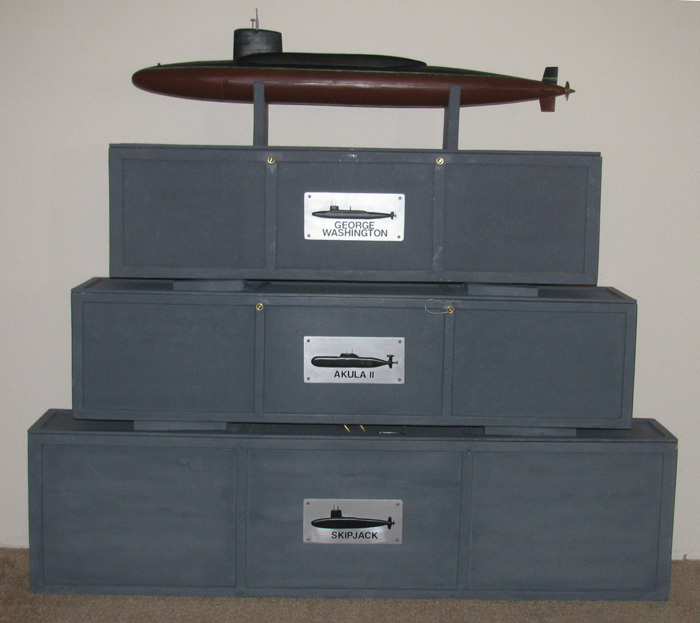
Here is the new Skipjack box behind the George Washington box.
I took the time this morning to make the foam inserts that will hold
the boat in place during travel.
The lower pieces are cut just 1/4" below the hull center line.
These will be glued in to the box so they will not move.
Here are the top pieces cut to form around the hull.
They are about 1/4" taller than the box so when the top is put in place
there is compression on the foam and the hull.
In this photo, the center top piece still needs a little more fitting
done so it sits tight on the bottom foam pieces.
Yes, I test fitted the pieces in the box before making the hull cuts
in the foam.
The notches in the top pieces are to allow the box top frame to sit
on the foam with slight compression.
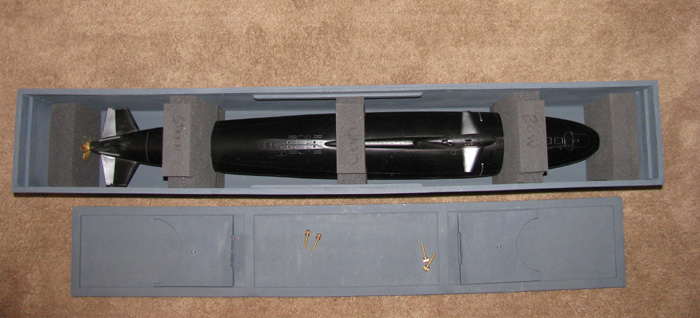
Transportation box with Skipjack inside.
Lid removed exposing the boat with t he foam blocks holding it in place.
3 - 2" thick pieces supporting the boat with 2" thick pieces at the
bow and stern.
The prop is placed in to the box first so the prop cone can embed into
the foam.
The foam for the bow is removed and put in place by compressing the
foam about 1/2".
When released, the foam pushes on the bow of the boat keeping the boat
firmly in place.
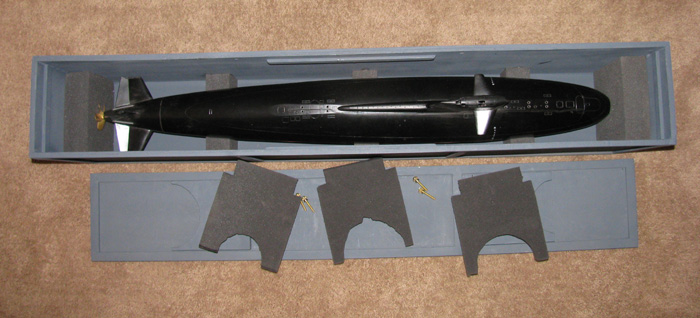
The top half of the three foam blocks removed.
You will notice the foam blocks have the top corners cut out.
This allows the lid frame to slip past the foam block and press down
on the foam.
When the lid is put in place the foam holds the lid up about 1/4" requiring
me to put pressure on the lid to insert the brass bolts that hold the lid
on.
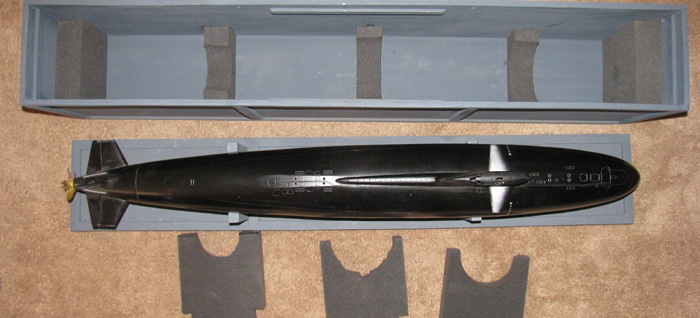
Look inside box with top foam blocks removed.
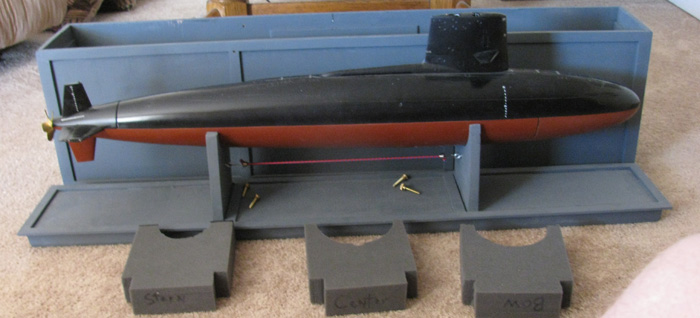
Boat removed and sitting on lid stand.
Side view.
Boat on lid stand.
I will be making two nylon straps that will be complete circles for
carrying the box.
There will be two grommets place in each strap that will line up with
the lid brass bolts.
This will give me handles or a shoulder strap to carry the box.
I can also use the straps to launch and recover the boat from the water.
The box project is complete at this point.
The basic box can be made to any size to fit your specific project.
I have less than $15 in materials in it, less the straps.
===================
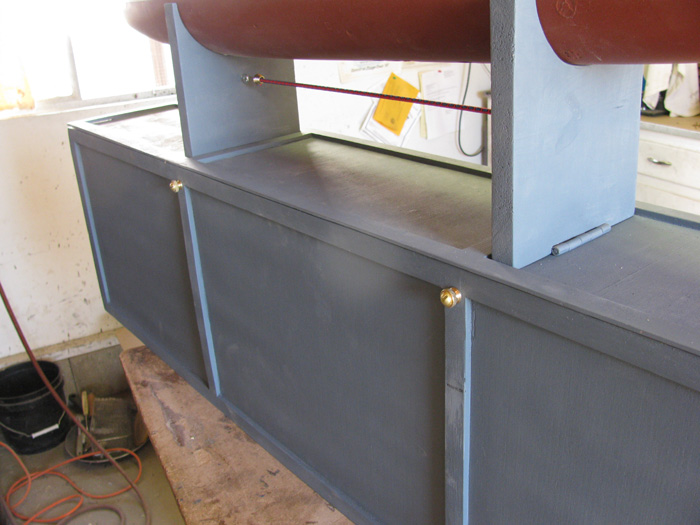
New stand cables.
I used eye screws and bungee cords to hold the stands up to sit the
boat on.
Having had the bungee stretch enough to let the stand fall over has
made it necessary to make a safety cable.
Now there is a bungee and cable between the stands.
----------------------------
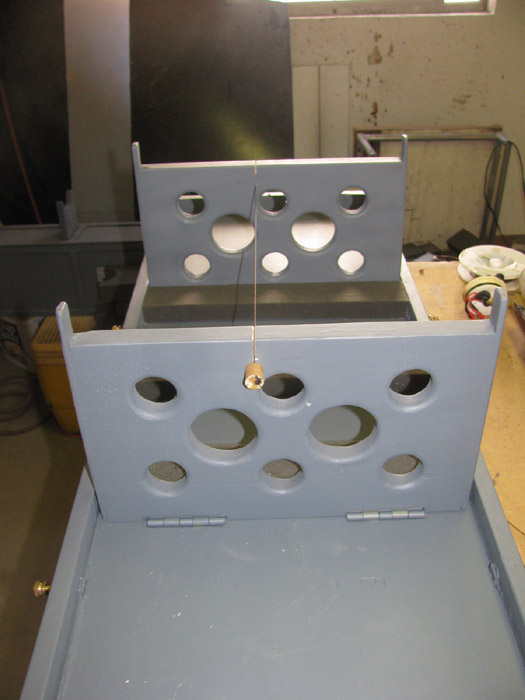
An issue has come up.
The eye screws stick up when the stands are fold down and this makes
it very hard to stack anything on top of the boxes.
I came up with a simple fix.
Remove the eye screws makes the stands flat and has the ability to
have other things stack on top.
Now to make something to hold the stands up when used to hold the boat.
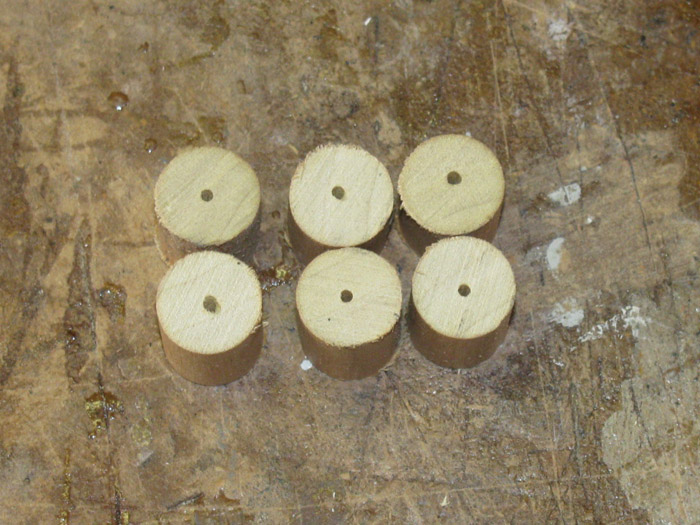
I cut 2 pieces of 1/2" hardwood dowel (left over mast material) about
5/8" long.
Drilled a 1/32" hole through the center. (close counts)
Pieces cut for 4 boxes.
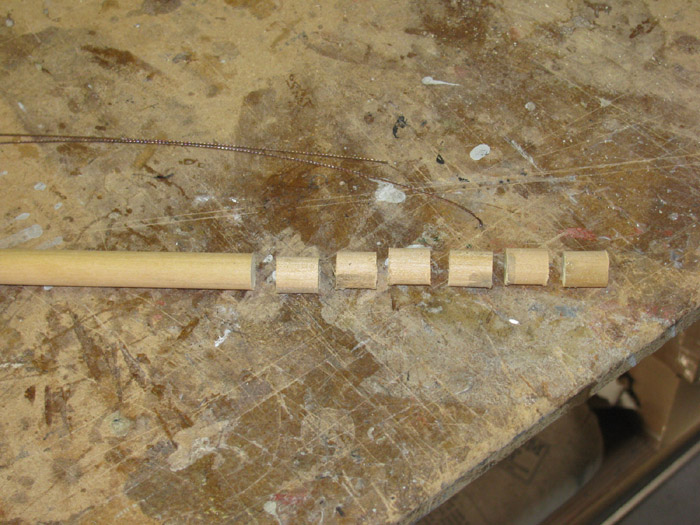
Holes drilled in center. (close counts)
Push cable through hole and loop back.
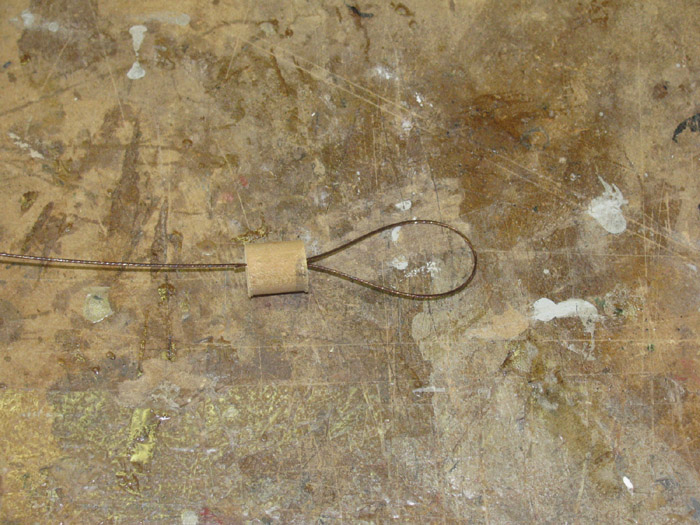
Apply CA glue to the cable loop and pull in to the dowel.
Leave a small loop that keeps cable from being pulled all the way through.
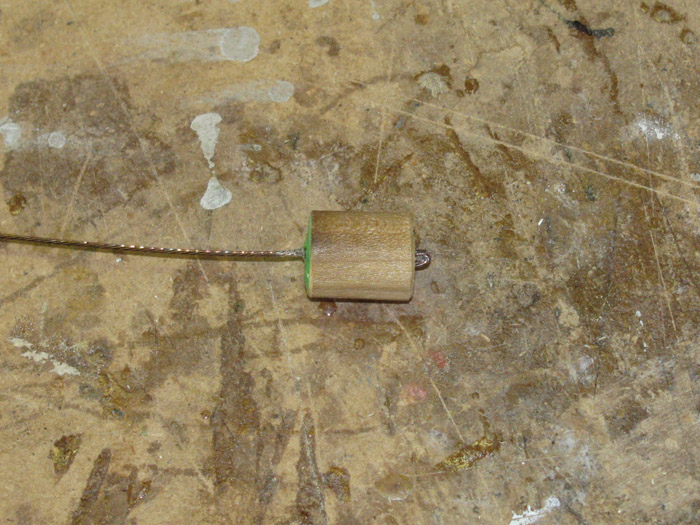
Apply drop of CA glue on other end of dowel.
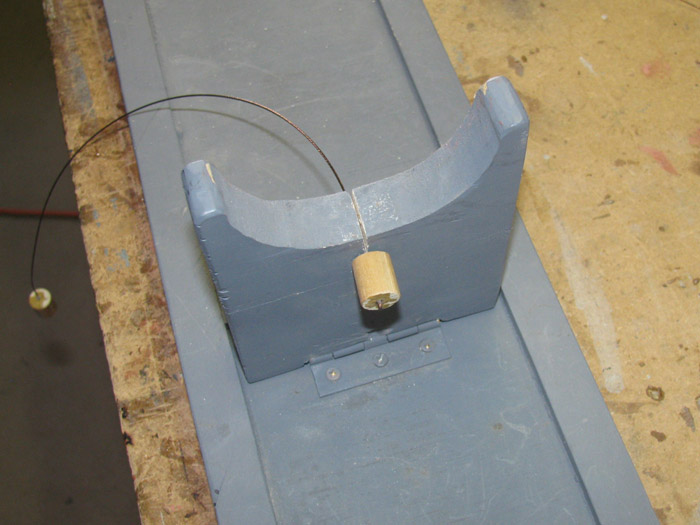
Cut slots in to the box stands.
Center of saddle for nukes and off center for sail boat keel.
Depth of cut is 1".
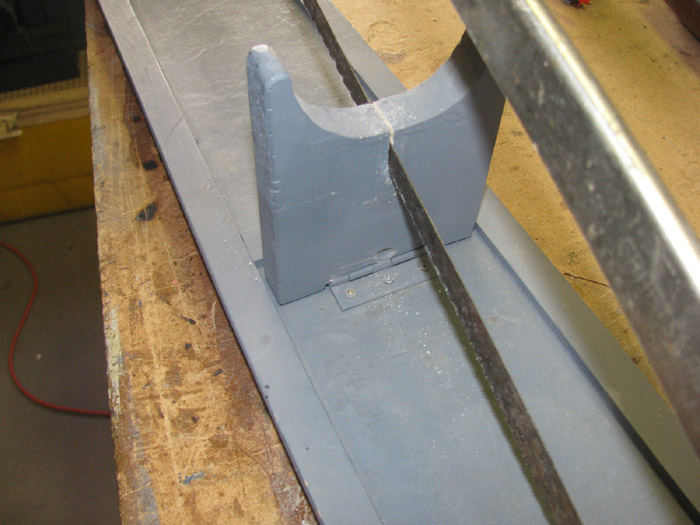
Safety cable drops in to slot.
Cleaned up the slot with sand paper to make sure it was smooth inside.
Cut cable to length.
Leave enough to make the loop and when pulled tight, the cable is about
3/16" shorter than the gap between the stands.
The stands can be pulled together and the cable dropped in the second
end.
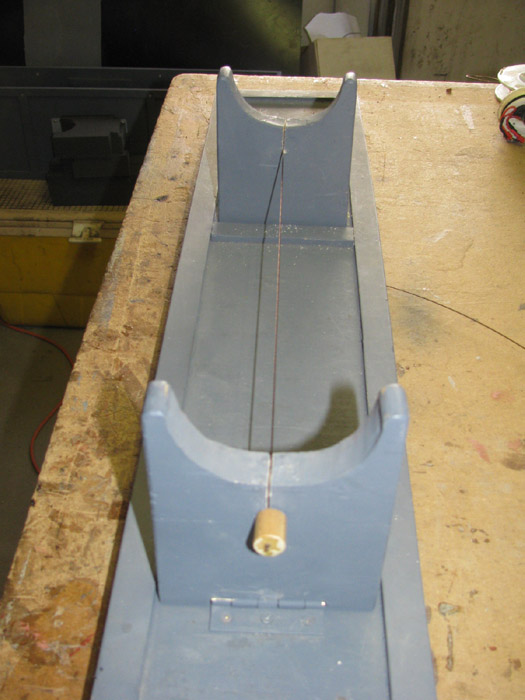
This is the George Washington box top stand with the safety cable in
place.
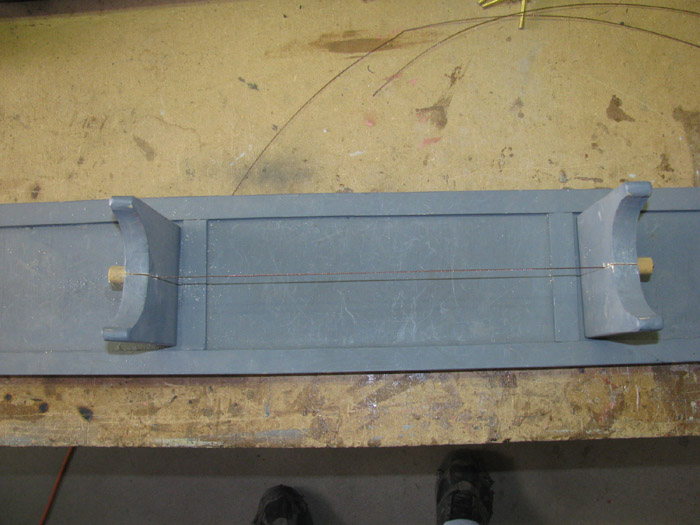
This is the ALMA box top stand with the safety cable in place.
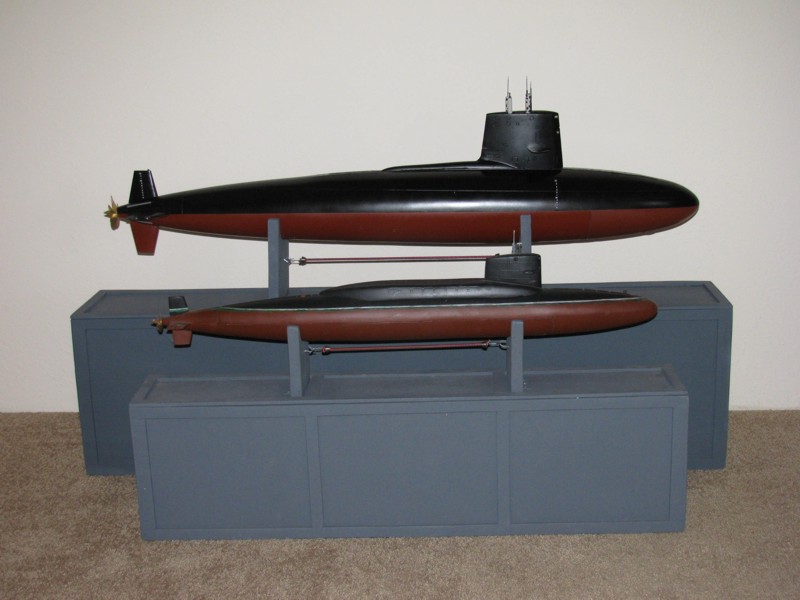
Boats in boxes.
Boxes stacked.
This is so much better!
|