If you are building a Revell Skipjack, you know how fragile
the mast antennas are.
I planned to use the plastic antennas. Had them in place for several
months.
Then I bumped one with my arm reaching for some parts.
Broke the rear most antenna right off.
Tried to repair it but that quickly turned in to a lost cause.
So I left it alone for now.
But as time when on, I broke the antenna off the periscope.
I was just leaning the sail against the hull so I could do something
else.
I had been thinking on how to repair the first two and had a plan.
This morning, I broke the last antenna off.
So, I thought I would put my plan in to action and see if I could fix
the fragile antennas with something a little more sturdy.
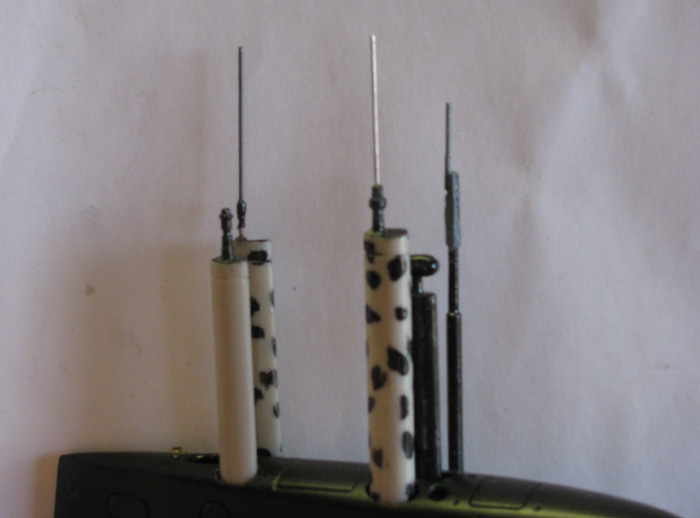
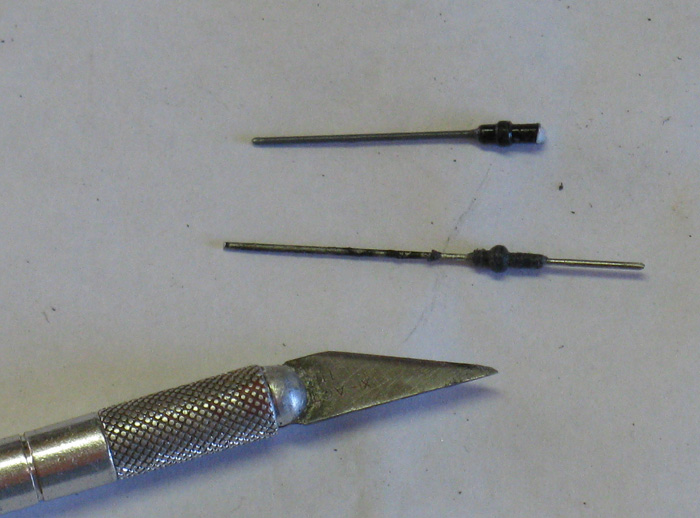
This photo shows the fixed antennas.
The far left and the one on the periscope have been painted.
The one in the front of the photo is still raw piano wire sanded to
accept paint.
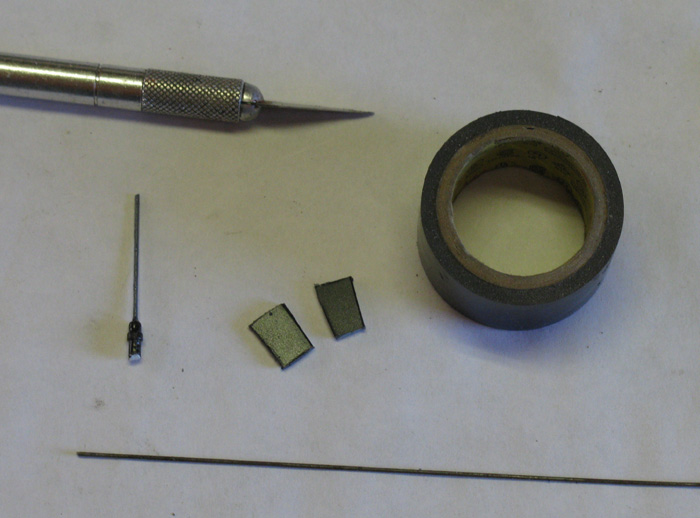
The plan is to use piano wire and 1/16" plastic sheet.
A few hand tools and CA glue.
And electrician's tape.
Could be any tape.
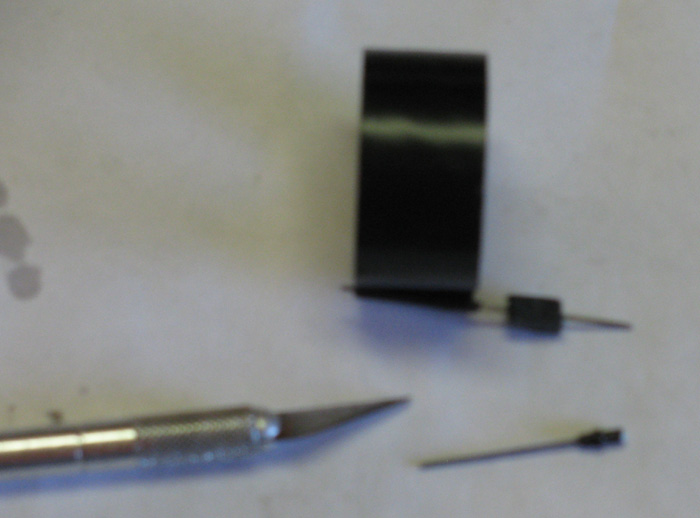
I used scissors to cut two small pieces of plastic.
You'll notice the original antennas on the left.
This is want I am going to duplicate.
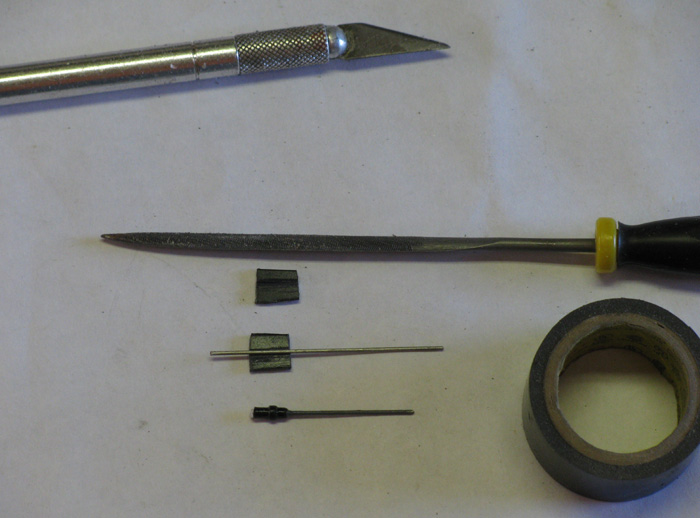
Used a file to make a groove down the center of the two pieces of plastic.
This groove is where the piano wire will go.
Leave more wire above and below the plastic.
The above should match the original antennas height.
The lower is what I will use to mount the antenna to the mast.
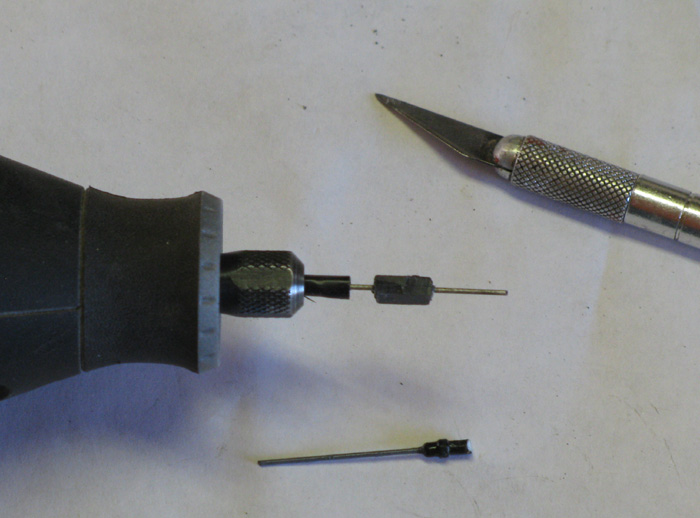
It's hard to see but I filed the plastic by hand in to a square and
rounded off the corners.
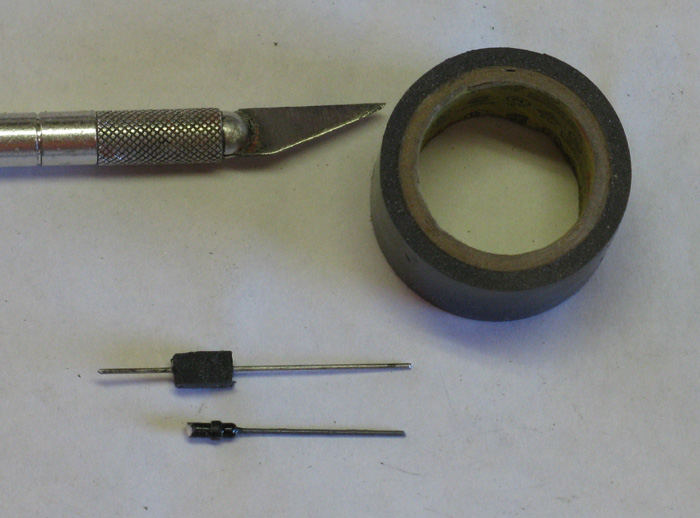
Sorry this photo didn't come out at all.
But I think it's will show what I did.
I used electrical tape around the piano wire to make it bigger in diameter
to fit in my Dremel chuck.
I used too much and then trimmed until I could get in the chuck.
Here is the antenna in the Dremel.
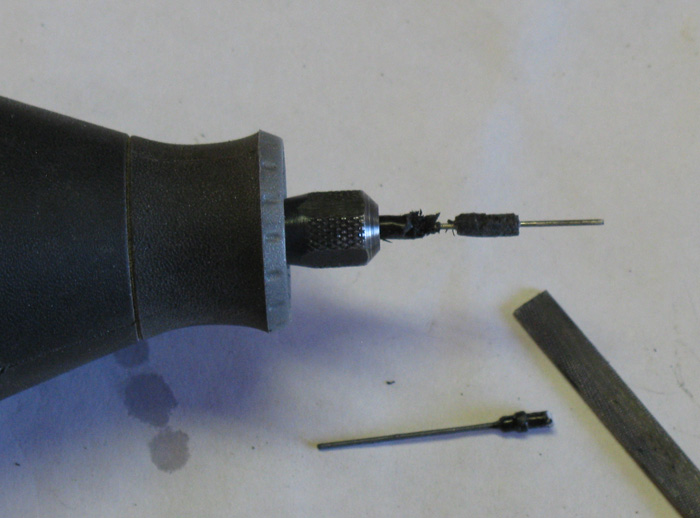
It doesn't spin straight but by placing the end of the piano wire on
my finger while spinning, it is very stable and turns true for the most
part.
Using a small file I turned the plastic round.
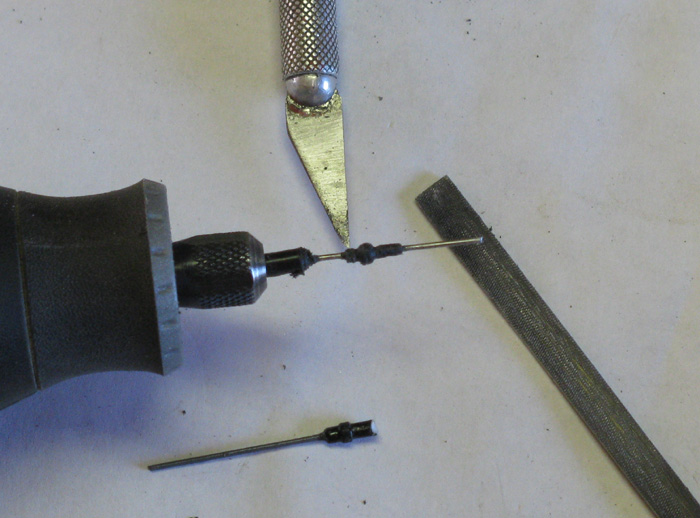
I trimmed the ends straight and to the length needed to match the original
antenna.
The tape also protects the Dremel chuck while using the file.
Now using my Exacto knife, I turn the plastic down on both ends.
Just took my time and carefully turned out the shape I wanted.
Here is the almost finished antenna next to the original.
Still has tape glue on it.
I leave the glue on it at this point so I can hold on to the wire to
spin it with my fingers.
At this point I use 200 grit wet and dry sand paper and a block of
wood to finish the shaping.
The top photo shows the finished antenna.
Now to mount the antenna on the mast.
What I did is I made a special drill took.
What I did was make an antennas wire with no plastic on it.
I put the electrical tape on it and chucked it up in the Dremel.
The end of the piano wire was cut with wire cutters so the end is wedge
shaped and sharp.
Using this with the Dremel at a very slow RPM, I carefully used this
wire to drill the holes in the tops of the masts.
Checked for fit and alignment.
Turns out the hole will be over sized.
Actually is good.
Allows for glue in wit the wire.
I used slow cure Gorilla Glue because it takes several hours to cure
and I can more the antenna around to keep it straight with the mast checking
from time to time.
Also the Gorilla Glue I use expands and fills the entire hole I drilled
in the top of the masts.
There is a down side to these antennas.
They don't break off without breaking the masts.
And they can put nice holes in your hand or arm if you are not careful.
So, I suggest if you are going to use wire antennas, leave them until
last.