This is on my wish list of boats to build.
I have wanted to do this boat since about 1990.
I started a plug but over the years the wood cracked and the filler
popped off the plug.
I will get this boat built.
Today, I was inside working on the computer when I thought, I might
as well make the badges for the transportation box and the Tx case.
I do not find these hard to make and they can be made from plastic
scraps I have in the trash bucket.
First things first, I need to make paper patterns.
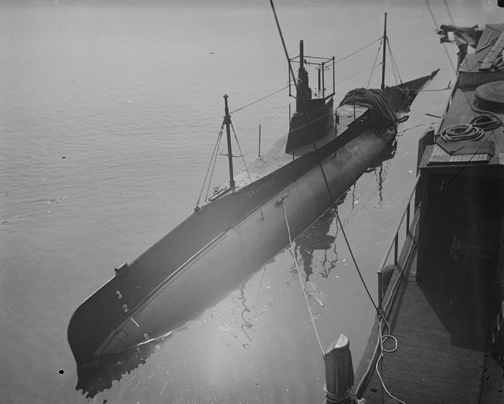
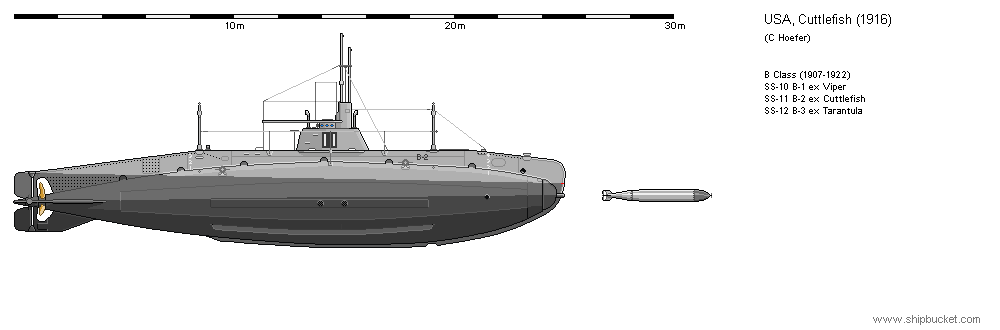
So I find the drawing of the b-boat and take to my drawing program.
(more on that in my Gato build)
Take the drawing and resize it to 6" for the transportation box.
Copy it to a new page and paste it twice.
Do the same thing again but make the drawing 4" for the Tx case.
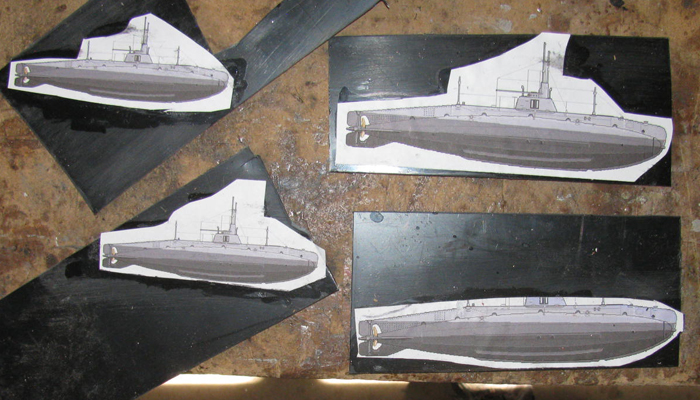
Now I have the patterns to put on the plastic sheet to make badges.
I cut 3 pieces from sheet plastic for the 6" badge.
I cut 2 for the 4" badge.
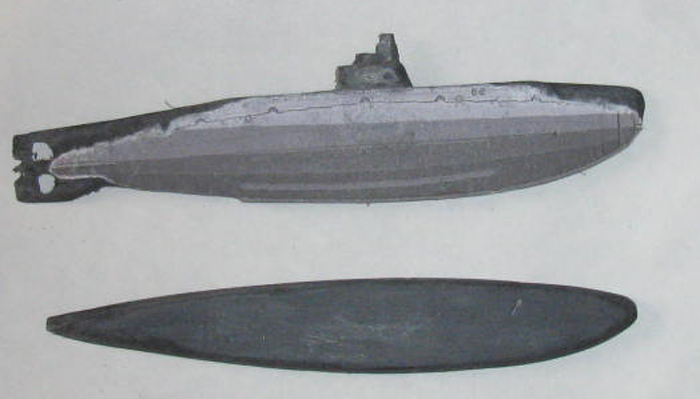
I cement 2 layers together for the 6" badge.
This will be the main hull.
The third plastic piece will be the conning tower and deck.
I find it easier to shape these two part separately.
The 4" badge is still 2 pieces of sheet plastic.
I will sharp them separately even though I have to shape the conning
tower, deck and part of the hull at the same time.
Most of the shaping will be done with a drum sander in the Dremel.
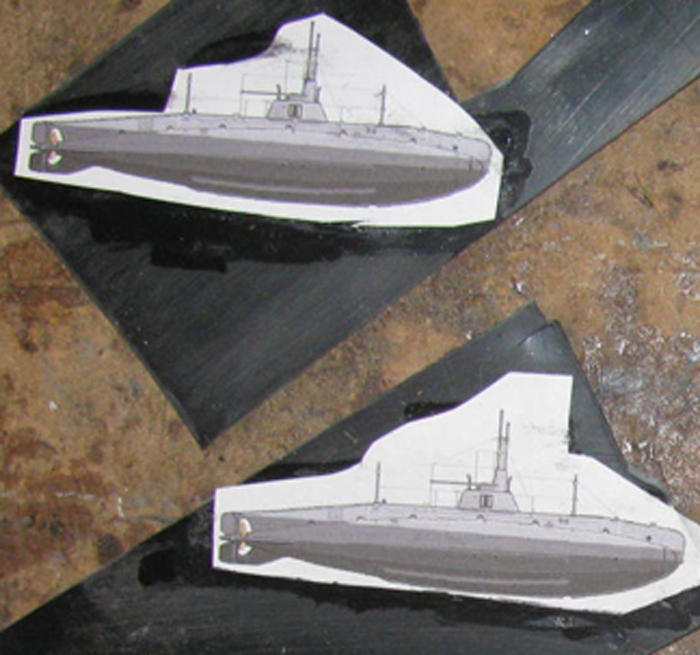
I have rough cut the patterns form the paper sheet.
I have glued them to the sheet plastic.
When dry, I can shape around the pattern.
There will be exacto knife and file work to be done to get the finish
look.
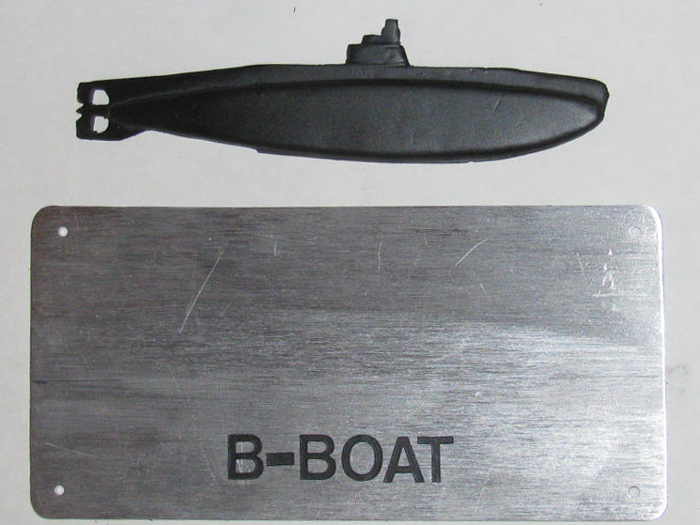
Starting with sheet plastic pieces.
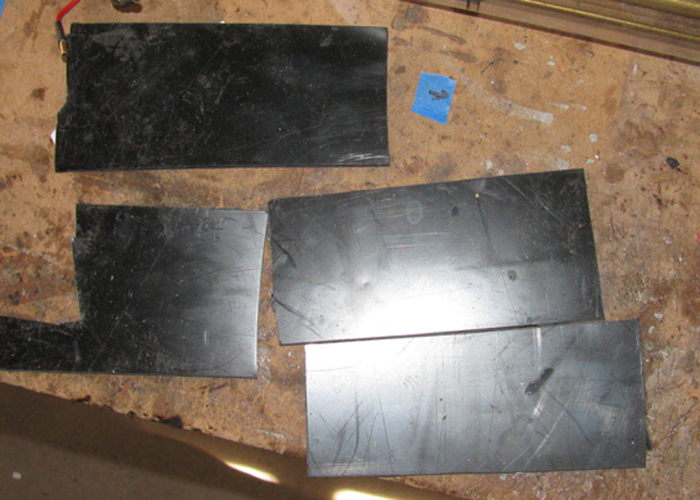
Cut the paper patterns out and then glue to the sheet plastic.
I only need 1 pattern that includes the deck and conning tower.
This will be the back piece to give a 3D effect when done.
Started with the back piece.
Using the Dremel with a cut off blade, I hand shaped down to the paper
pattern.
The second pattern on the plastic is glued to a second piece of plastic
to give me 2 layers for shaping the hull.
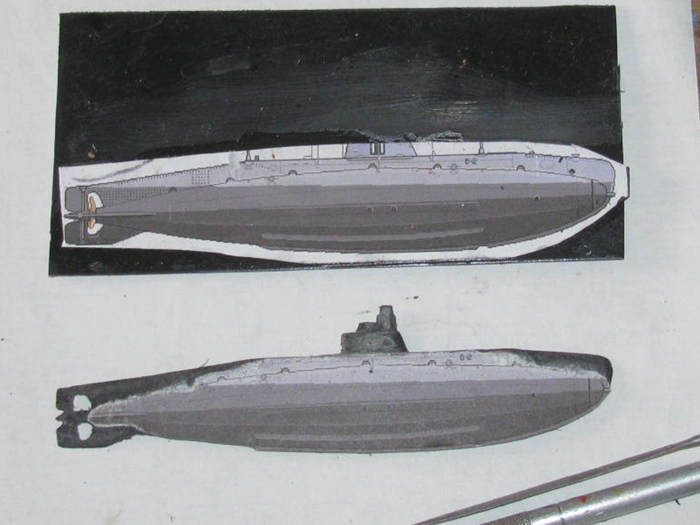
Using a 1/2" drum sander, I shaped the bow and stern.
I also back cut the conning tower and scope mounts.
Shaped the 2 layers of plastic to the hull which is exsposed below the
deck sides.
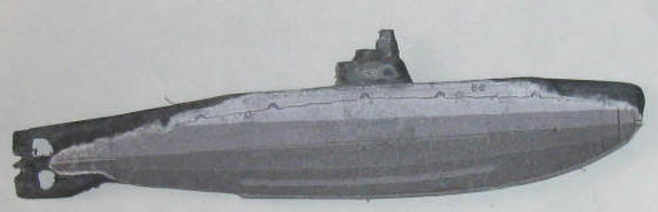
Scraped the paper pattern off.
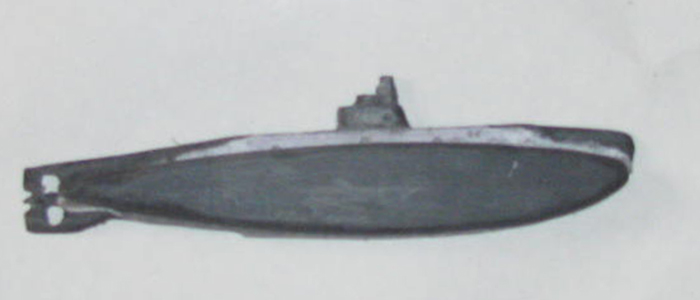
Shaped the hull using the drum sander, file and sand paper.
The outside edges are beveled to give the round hull look coming out
from under the deck.
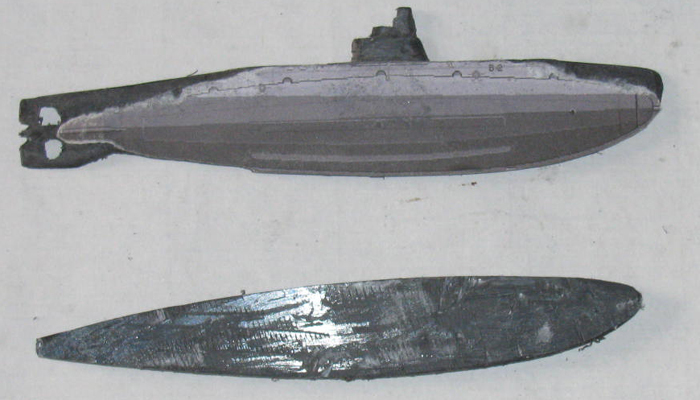
Set the outer hull on top of the back piece to check for fit.
A little more sanding and it should do nicely.
Scrape the paper pattern off the back pieces.
Sand smooth.
Sand the back of the outer piece for good cement bonding. 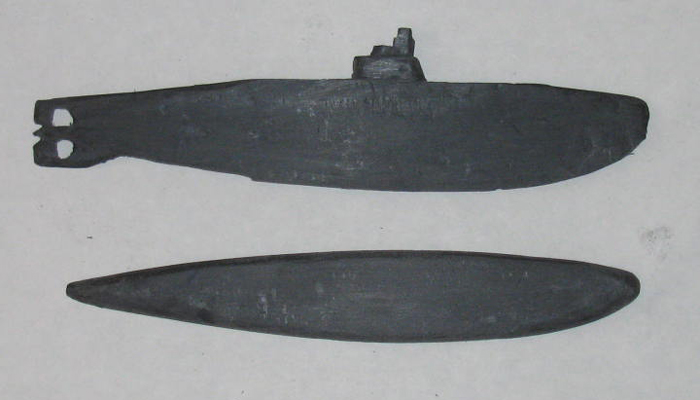
Bonded the 2 pieces of sheet plastic together.
I will sand down the shiny areas before painting flat black.
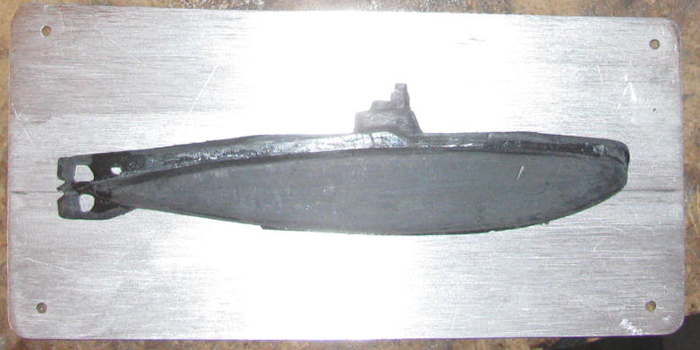
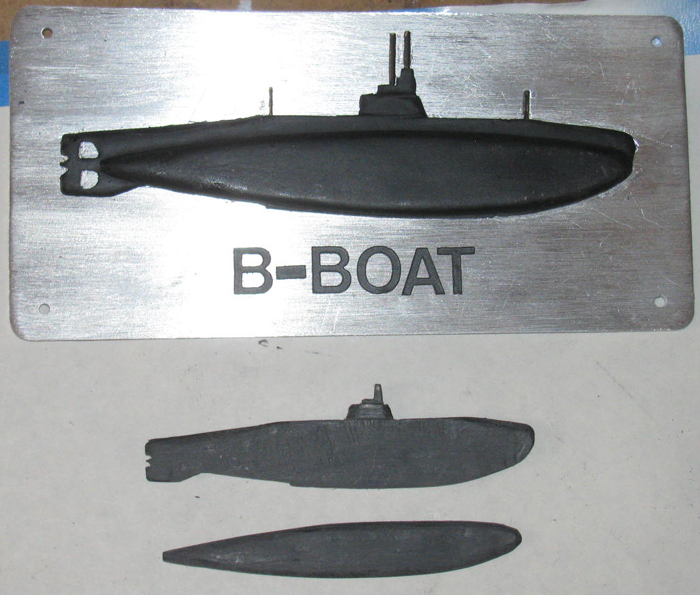
Here the badge is set on the aluminum mounting plate.
Looks like I need to do a little more to the propeller openings.
Got to find a smaller file.
Will make masts for the conning tower and 2 poles.
1 forward and 1 aft.
Next I will make the lettering for the plate.
I put the lettering on first so I can measure from the lettering to
the boat.
Lettering. . . I am using vinyl stick on letters.
Helvecia 1/2".
I will print out the name on paper reversed.
Then I can set the letters one at a time on the paper pattern and using
tape I can pick up all the letters with the sticky side up.
Turn it over it will read correctly and I can place the letters over
the aluminum and push them down when straight with the index marks.
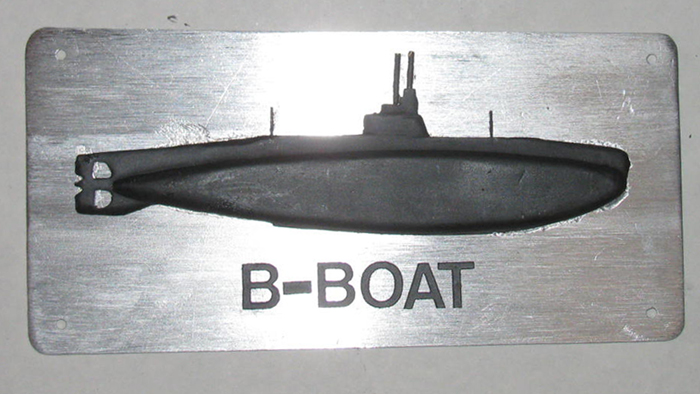
The badge has been painted flat black.
I will let this dry over night.
Will mount the plastic badge tomorrow.
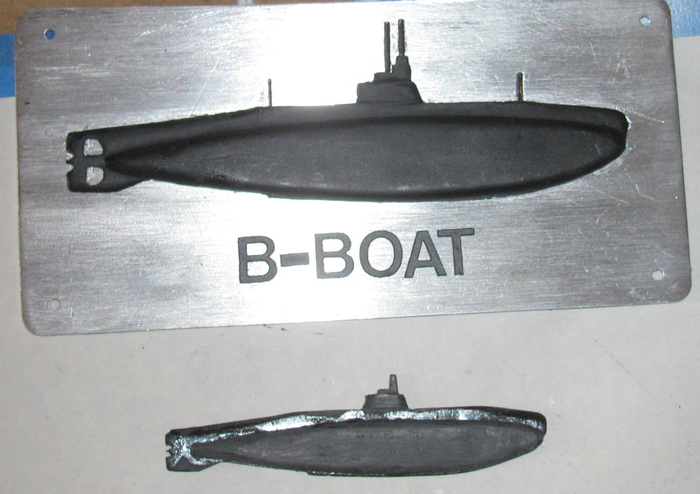
The lettering is on the aluminum mounting plate.
Everything will get clear coated.
The plastic badge has been mounted using silicone glue.
The 2 masts where made from 1/16" brass rod.
I took a short piece and put in in the Dremel and turned it with a
file down to 3/32"
The 2 staffs, bow and stern) are 1/32" brass rod.
All 4 were flattened on one side with a file to get a half profile.
Also these parts don't roll of the plate while work with them.
They were silicones on.
Tomorrow, I will clean up the excess silicone and sand the plate a little
more.
Then I will clear coat it all.
Mostly to keep the letters on.
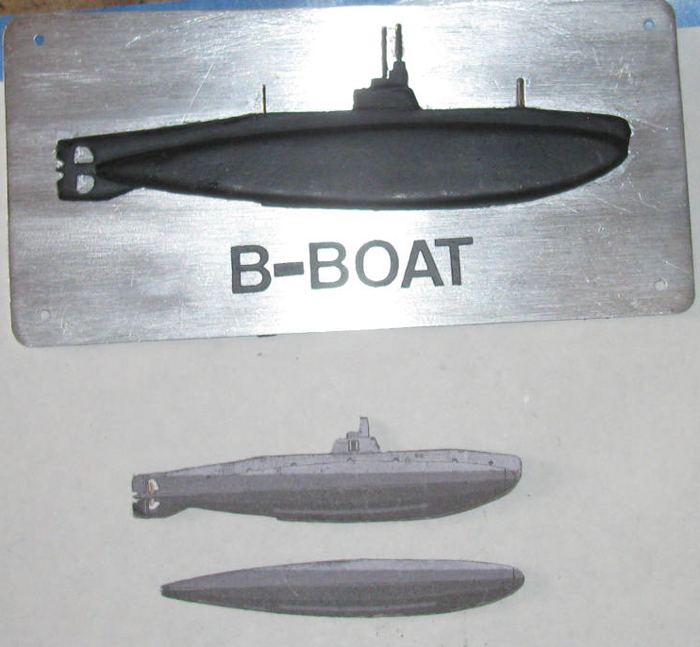
This badge will go on the transportation box.
Next there is a smaller badge.
This one is 6" long and the next one is 4" long.
The smaller one goes on the Tx case.
I have several Tx(s) all on different frequencies.
At a glance, I know which Tx goes with which boat.
Once the Tx is out of the case it's easy to tell because the Tx are
not the same make.
=================================
Well, I went out to the shop and shaped the small badge.
Took me 50 minutes, start to finish. (less painting)
Here are the paper patterns on the sheet plastic.
Using the Dremel with a cutting disk, I hand shaped the profile.
Using the 1/2" sanding drum, I shaped the hull deck taper on he top
edge of the back piece.
Shaped the outer piece to look round as the boat has all circular frames.
I also, shaped the conning tower stepped back from deck edge.
The top piece is cemented to the back piece.
It was clamped in the table vise for 20 minutes to get a good tight
bond.
I will let this set and cure for a while.
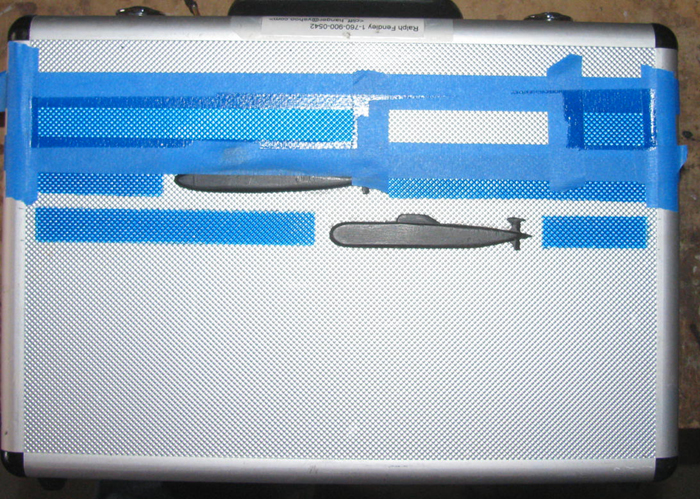
I now have to prepare the Tx case for pinting the blue stripe and where
I will mount the badge with silicone glue.
The badge still needs a little cleaning up and painting flat black before
mounting to the case.
I may get this done later today.
The badge was cleaned up and painted.
While the badge dried, I prepared the Tx case for painting.
Here the case has been painted and I am removing the shield paper and
masking tape.
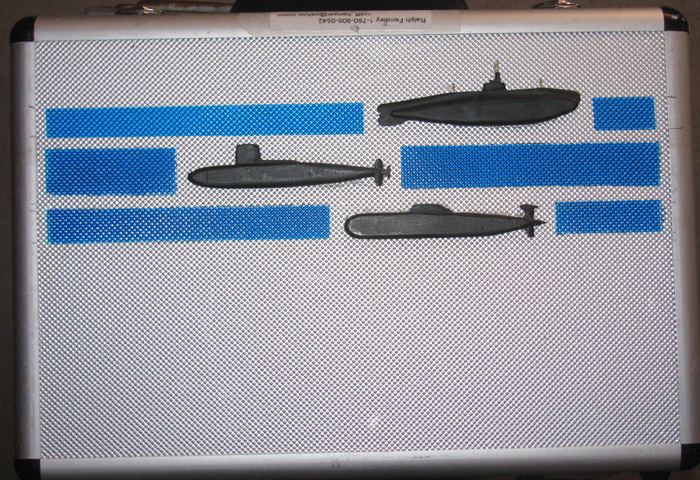
Tape removed and the small badge has been installed on the Tx case.
I made the 4 masted, 2 for periscopes and breating tube and 2 for the
staffs fore and aft.
Once the silicone cures I will clean up the excess silicone and I will
paint the masts flat black with a brush
Now all I have to do is build the boat ! !
|