 |
Start by either cutting the label on the separation line of the bottom
and center part of the case.
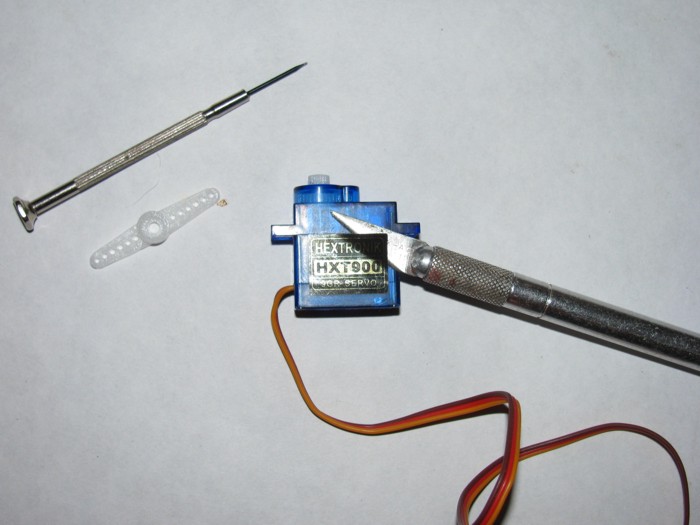 |
I found it was easiest to just lift the complete label with my knife.
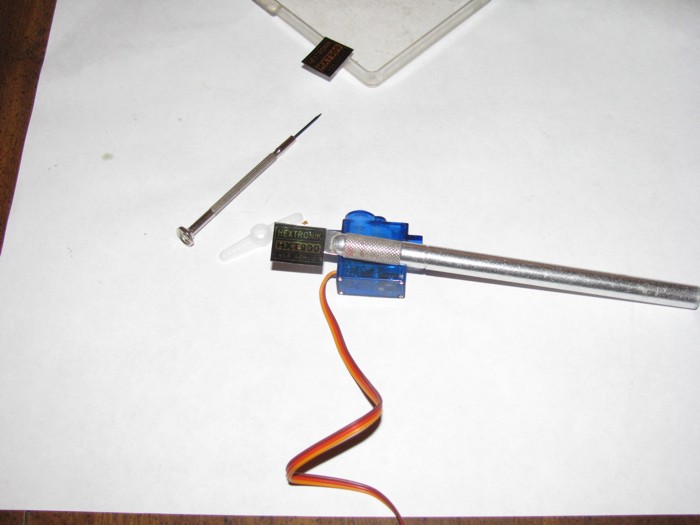 |
Remove the four screws from the bottom of the servo that hold it all
together.
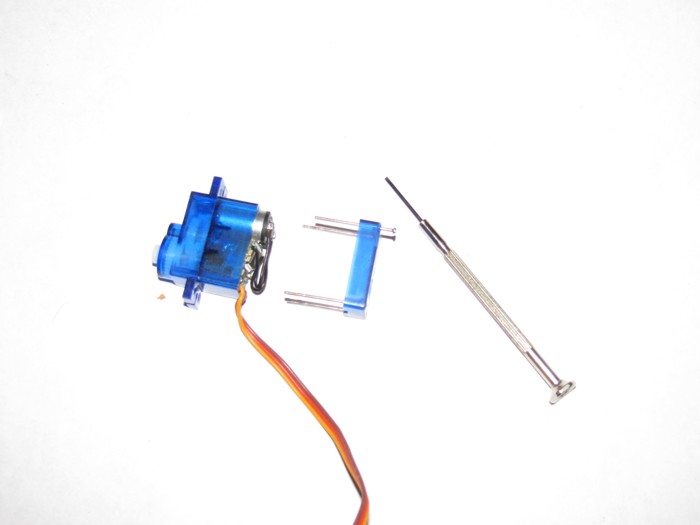 |
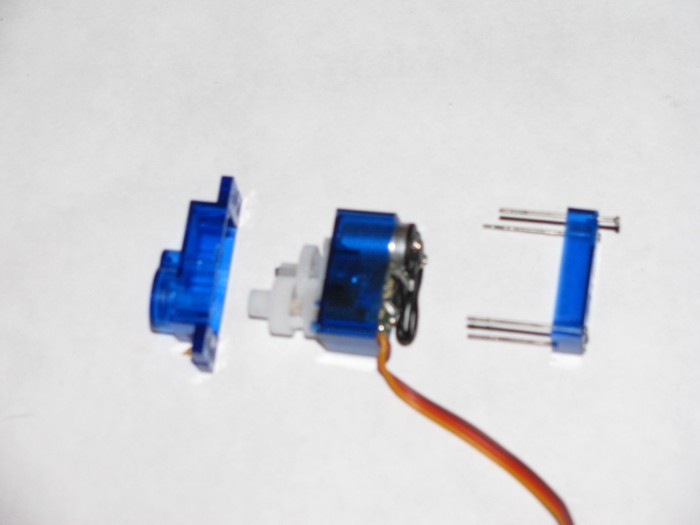
Pull the top of the case off.
 |
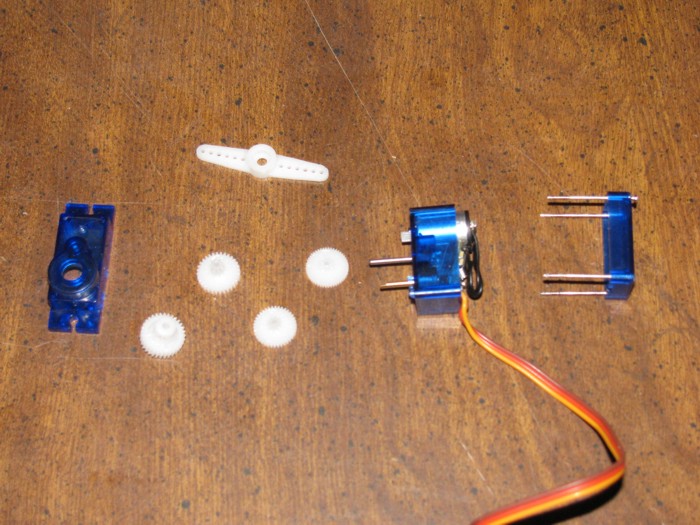
Remove the gears. Remember where they go. All four gears will fit on
the center shaft but only two will fit the side shaft. The two shafts are
not the same diameter.
As you can see, I placed them in the order they came off and which
shaft.
Top row is center shaft and bottom row is side shaft.
 |
Pull the circuit board out, gently.
Remove the clear plastic electrical shield.
This is in the case at an angle over the pot.
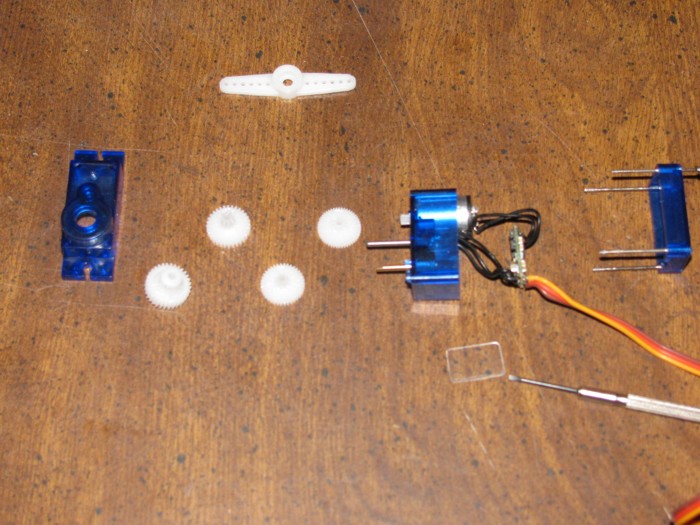 |
I put two gears back on the shafts.
The bottom gear engages the motor drive gear.
This is so I can see when the motor is turning.
I also placed the final drive gear back on the pot shaft so I can turn
the pot to adjust the rotation of the motor to zero.
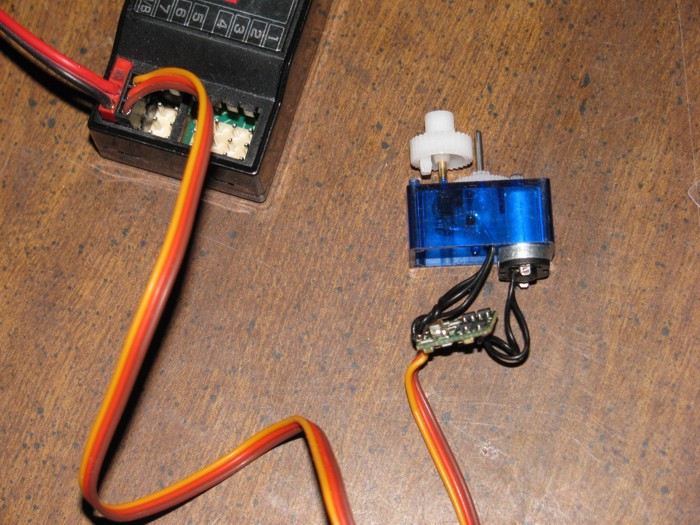
Using my Rx, I plugged in the servo on a self centering stick channel
and the battery for power.
I made sure the trim for the stick was also centered.
Turned on the transmitter and worked the stick to make sure I knew
which was being used.
The servo motor may or may not be turning at this point.
By turning the final out put gear, you can make the servo turn in both
directions.
You want to do this until you have the motor making zero turns.
Stopped with the stick centered.
Now operate the stick to make sure you have both directions.
Then recenter pot if the motor continues to turn.
Find Zero again.
 |
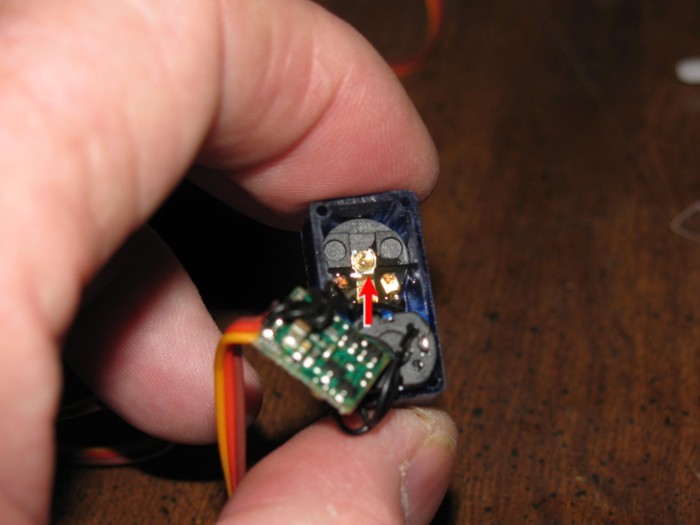
With the Tx and Rx still on, turn the servo over.
Put a drop of two of glue on the pot shaft.
You can actually glue the entire bottom of the pot if you want.
You want the pot to never turn again.
Now, while putting glue on the pot shaft, you might move the pot.
The motor will start turning.
So, this is why I use Gorilla Glue. After applying, I can still turn
the pot shaft and again zero the motor.
Set aside and let dry completely.
If you use CA glue. Drop the glue on without touching the servo at
all with the glue bottle. Hold until set.
 |
Now the hard part.
Need to cut the stop tabs off the final drive gear.
There are two, side by side.
Hold gear on your work table and press down with Exacto knife with
steady pressure.
Those little stops will fly across the room in seconds.
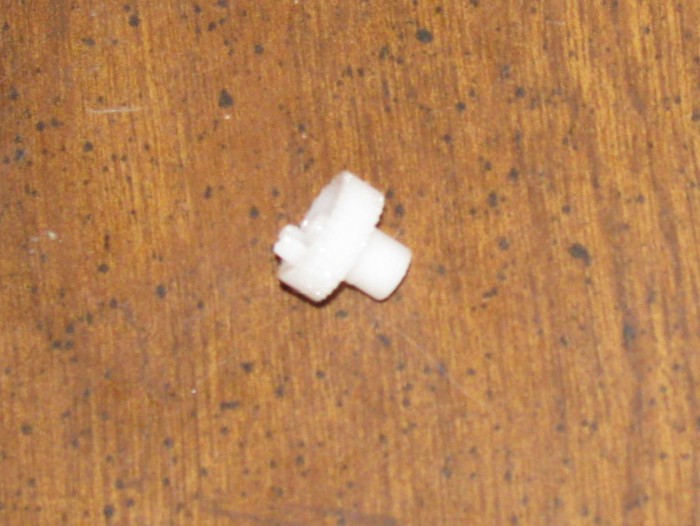 |
Gear with stop tabs removed.
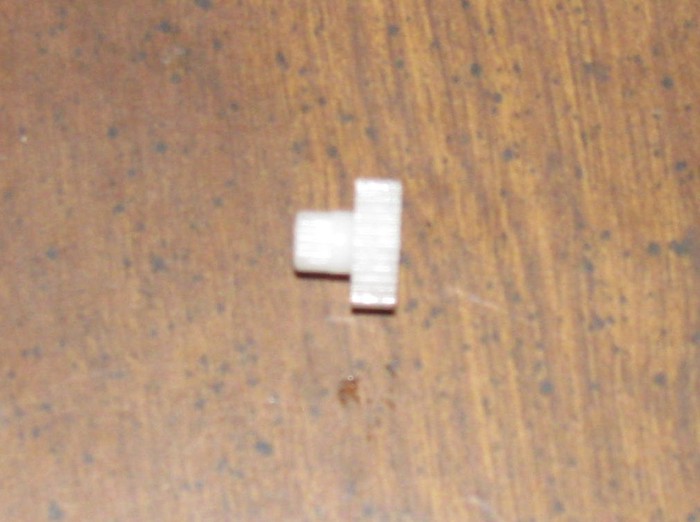 |
The final drive gear has a slotted hole up inside to engage the pot
shaft.
We need to deepen the shaft hole down to the bottom of the slotted
portion.
As we do this we also need to make the shaft hole a little large.
Be careful here. We don't need much. Just so the gear spins freely.
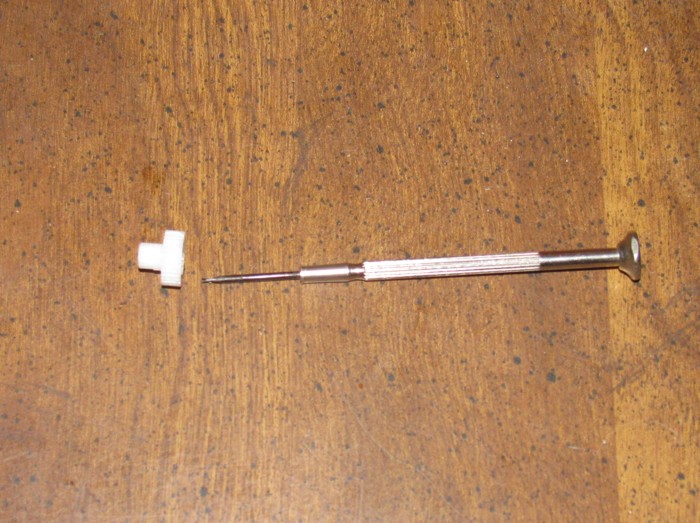 |
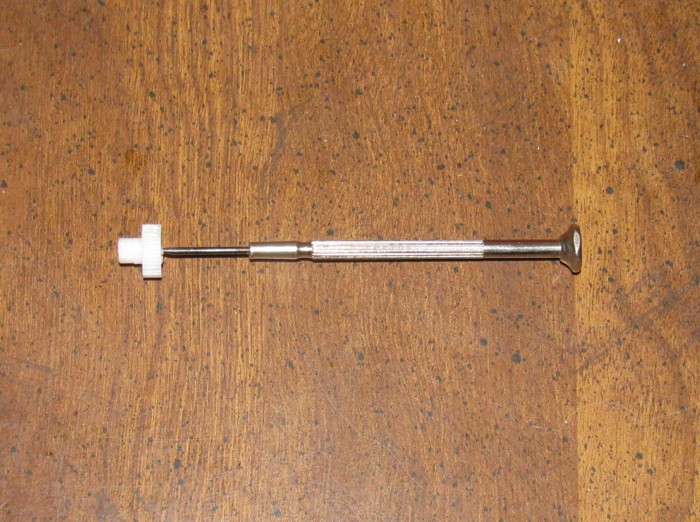
I used a small screw driver that just fit in the gear shaft hole.
Turned a couple of times and removed the dust particles.
If your glue is cured then test fit the final drive gear to the pot
shaft.
If it wobbles a little, it's not a problem.
The case is the bearing surface that centers the gear.
 |
Now reassemble the servo.
Put the plastic electrical shield in the case over the pot.
Place the circuit board back in the case.
Place the gears back on their shafts starting with the center shaft
and alternating gears to shafts.
Place the top of the case back on making sure the control arm gear
is sticking out of the case without binding.
Place the bottom of the case on and start the four screws.
Before tightening, make sure there are no wires sticking out or caught
between the case parts.
Tighten screws.
That should do it. Test with your Tx & Rx to make sure the motor
is not running. If so then you should be able to correct this with your
Tx trim tabs.
|
